
TM 55-1925-284-14&P
0023 00
INSTALLATION
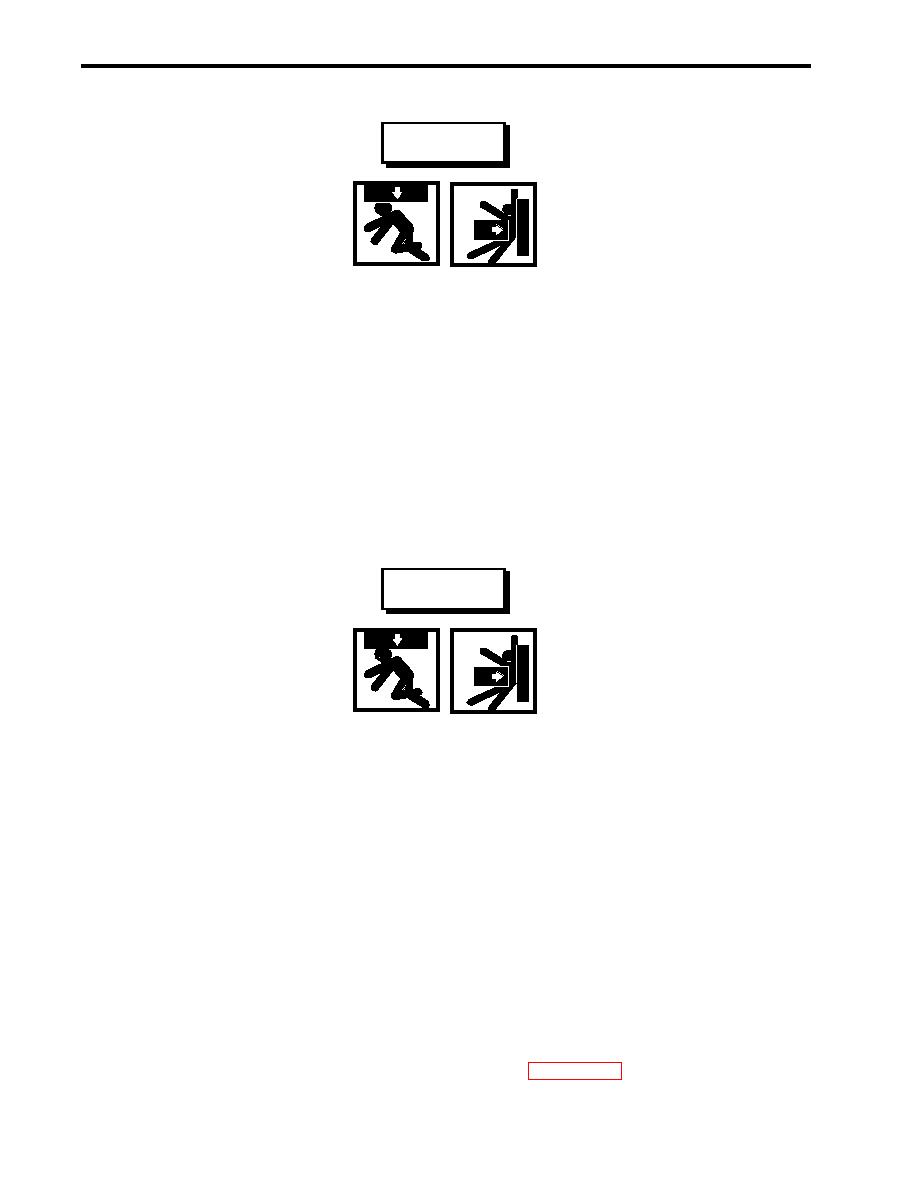
WARNING
Heavy loads can crush. Do not allow any body parts to come under the load or
between the load and a stationary object. Death or serious injury can result.
1. Using two crewmembers, install the blower assembly motor (figure 1, item 3) on the blower assembly mount-
ing plate (figure 1, item 8).
NOTE
The bolts that secure the blower assembly motor will be tightened while performing the
parallel and angular sheave alignment procedures.
2. Install the four bolts (figure 1, item 10) that secure the blower assembly motor (figure 1, item 3) to the blower
assembly mounting plate (figure 1, item 8). Do not tighten the bolts at this time.
WARNING
Heavy loads can crush. Do not allow any body parts to come under the load or
between the load and a stationary object. Death or serious injury can result.
3. Using two crewmembers, install the blower assembly motor (figure 1, item 3) and the blower assembly motor
mounting plate (figure 1, item 8) on its foundation (figure 1, item 9).
4. Install the four nuts (figure 1, item 5) and the four new lockwashers (figure 1, item 6) on the studs (figure 1,
item 7) that secure the blower assembly motor mounting plate (figure 1, item 8) to the foundation (figure 1,
item 9).
5. Connect the wiring (figure 1, item 4) to the blower assembly motor (figure 1, item 3) using the labels from step
5 of Removal as a guide. Remove the labels.
6. Install the junction box cover (figure 1, item 2) on the blower assembly motor (figure 1, item 3)
7. Install the four screws (figure 1, item 1) in the junction box cover (figure 1, item 2) of the blower assembly
motor (figure 1, item 3).
8. Perform the Parallel and Angular Sheave Alignment procedures (WP 0016 00).
0023 00-4

