
TM 9-2330-271-14&P
(2) Clamp spring in arbor press or vise, or
(5) Install four clip spacers with four new bolts
tighten C-clamp over spring near center bolt to hold
and nuts. Peen ends of bolts.
i.
Installation.
For installation of spring
leaves after spring alignment clips and center bolt have
been removed.
assemblies, refer to paragraph 4-53c.
(3) File or grind off peened ends of cap
screws securing ends of alignment clips. File or grind off
8-3.
Torque Rods
peened end of center bolt.
(4) Remove nuts, cap screws and spacers at
a. Removal. For removal of torque rods, refer to
each alignment clip and discard cap screw. Remove nut
on center bolt and discard bolt.
b. Cleaning. Clean with water and soft brush.
(5) Gradually relieve pressure of press, vise,
Inspect for damaged threads while cleaning
or C-clamp and separate leaves. If necessary, use heat
c. Inspection and Repair.
to open alignment clips.
(1) Examine rubber for loss of elasticity or
e. Cleaning Spring Leaves. Clean each leaf with
breaks in material. Make certain ball with bushing
approved cleaning solvent (paragraph 3-3b). Brush or
assembly is securely mounted in rod.
buff rust and corrosion from leaves.
(2) Remove burrs and hand chase damaged
f.
Inspection and Repair. Inspect each leaf for
threads with fine file. If damage thread cannot be
cracks or breaks. Replace defective leaves. Make sure
corrected, if rubber is hard or cracked, or if ball with
rivets hold clips tightly. Check leaf clips for cracks. Cut
bushing assembly is loose in rod, install new ball with
out and replace any defective rivet. Make sure new rivet
bushing assembly.
head does not extend above inner surface of spring leaf
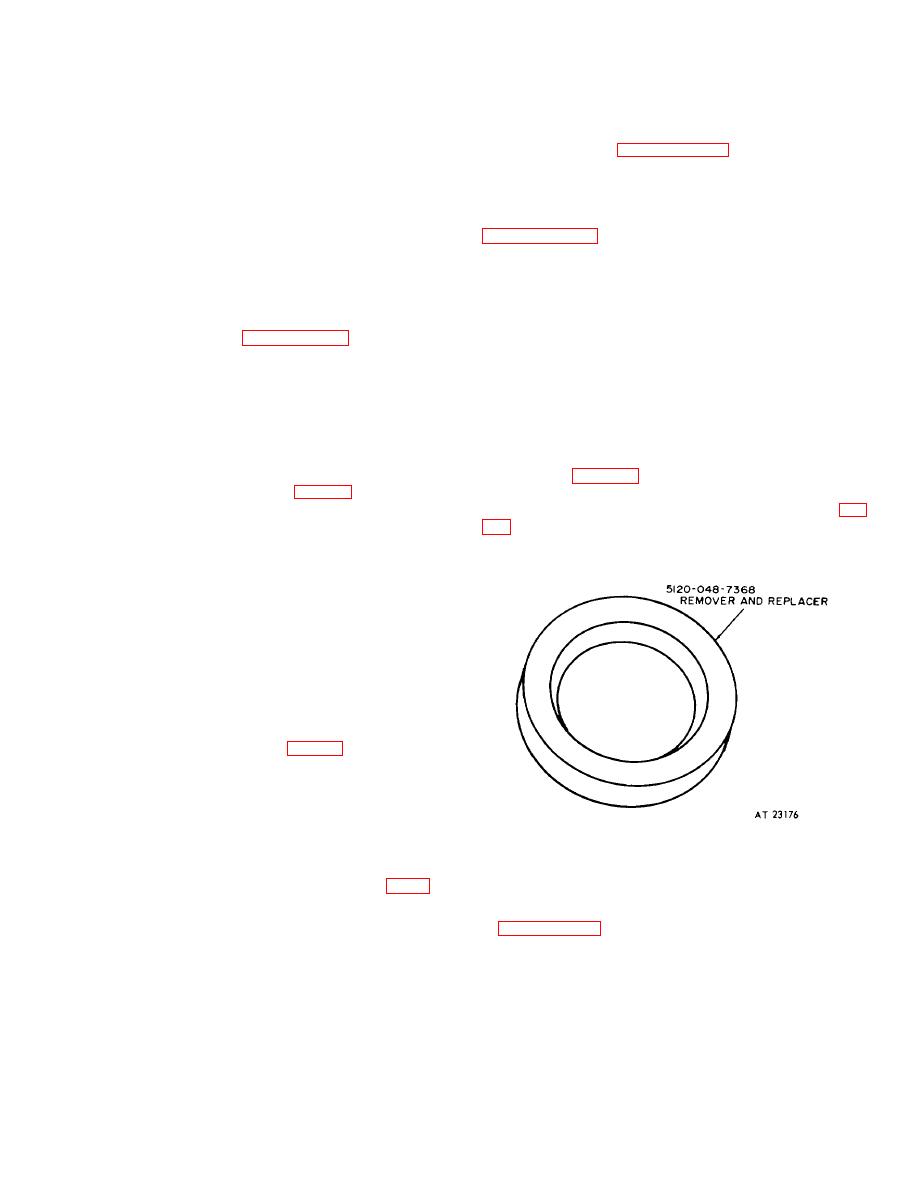
(3) To install new assembly, mount rod in
after forming.
arbor press. Using remover and replacer NSN 5120-00-
048-7368 (fig.
g.
Assembly of helper spring (fig. 8-1).
assembly. Position new ball, with torque rod, radius side
(1) Assemble leaves in proper order starting
of bore up. Press into rod with remover and replacer (fig.
with lower (larger) leaf number 1. Aline holes for center
bolt and insert center bolt into hole in leaf No. 1 and
through holes in other leaves numbers 2 through 8. Do
not apply lubricant between leaves.
(2) Clamp leaves together with arbor press,
vise, or C-clamps. Install nut on center bolt. Tighten nut
securely and peen end of bolt.
(3) If necessary, heat and bend end of leaf
clips into position over five leaves. Clips must be tight
enough to hold leaves in alinement without restricting
free movement of leaves.
(4) Install two clip spacers with two new bolts
and nuts. Peen ends of bolts.
h. Assembly of main spring (fig. 8-1).
(1) Assembly leaves in proper order, starting
with lower (larger) leaf number 1. Aline holes for center
bolt and insert new center bolt through 12 spring leaves.
(2) Clamp leaves together with arbor press,
vise, or C-clamps. Install nut on center bolt. Tighten nut
securely and peen end of bolt.
(3) If necessary, heat and bend ends of leaf
Figure 8-2. Torque rod ball remover and replacer.
clips into position over outer ends of five leaves (fig. 8-
1). Repeat this procedure to locate two leaf clips in
d. Installation. For installation of torque rod, refer
position over nine leaves.
to paragraph 4-55b and 4-55d.
(4) Clips must be tight enough to hold leaves
in alinement without restricting free movement of leaves.
8-2

