
To adjust the back gauge angle for parallelism:
A.
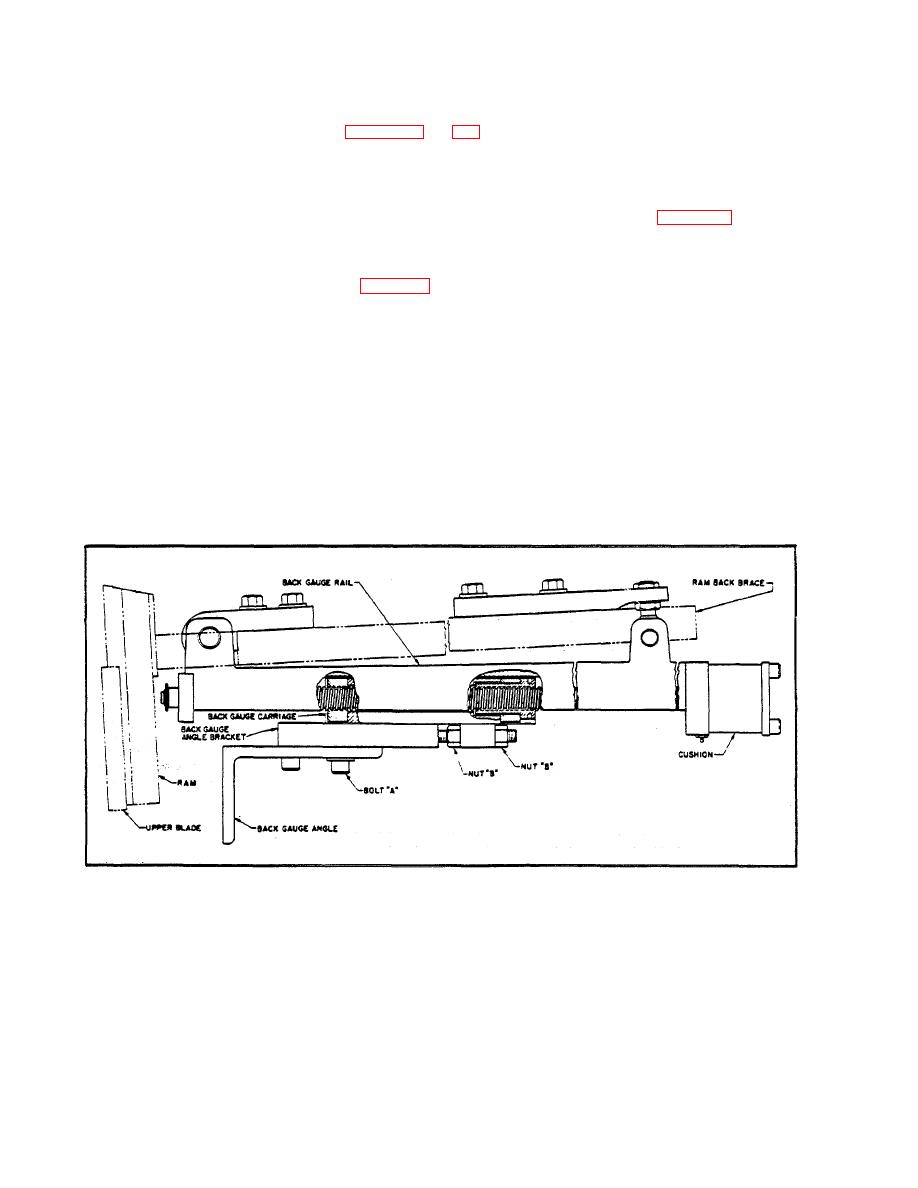
Loosen bolt "A" and stud nuts "B" (Figures 26 and 27) on one back gauge angle carriage.
B.
Using nuts "B", move the back gauge angle carriage "IN' or "OUT" until the back gauge angle is parallel with the
lower blade. Retighten bolts "A" and nuts "B".
C.
If the amount of adjustment required is more than 1/16", lock idler sprocket "D" (Figure 27) by placing piece of
material between the slide and the sprocket. This will prevent sagging of the chain between the idlers while the
next step is being performed.
D.
Loosen chain tightening bracket "E" (Figure 27) allowing the chain to drop clear of the sprocket on the end of the
back gauge screw.
E.
Turn the screw by hand until the back gauge angle is parallel with the lower blade.
F.
Tighten chain tightening bracket "E" making certain that the chain is-properly seated in the sprockets and taut.
Use care when re-engaging chain with screw sprocket teeth not to turn the back gauge screw more
than is necessary. Make final adjustments as described in steps 3-A and 3-B.
To recalibrate the Indicator Dial, it is necessary to adjust the outer (fraction or decimal ) dial to approximately "O". At
this point a socket head setscrew will be located at the bottom and access can be had to it through a slot in the bottom of
the Indicator Housing. Loosen this set screw and then move the outer dial to the actual back gauge setting. Retighten the
set screw. The inner (inches) dial can be adjusted by loosening the 3 button head screws on the hub of the dial. Be sure
to retighten.
Figure 26. Back Gauge Angle
27

