
TM 9-4110-246-14
TO 40R7-5-10-1
2. Lock replacement ceiling panel assembly to adjacent ceiling panel assembly by rotating camlocks fully
clockwise.
3. Lock ceiling ends of supporting wall structure panel assemblies as applicable, tothe replacement ceiling panel
assembly by turning camlocks on upper end of wall units fully clockwise.
4. Apply new sealing tape (item 11, Appx E) over top and side joints of replacement ceiling panel assembly.
3-15.
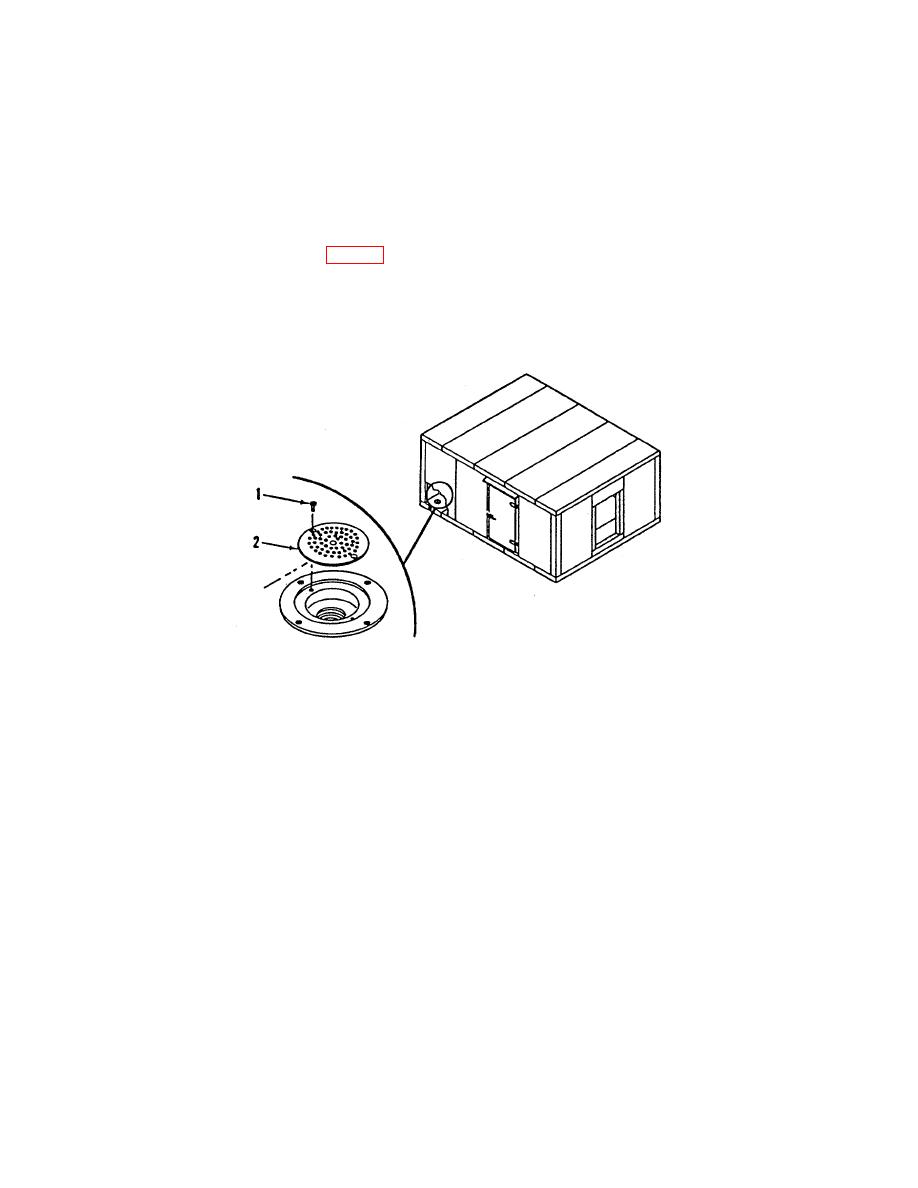
REMOVE/INSTALL STRAINER.
TOOLS: Screwdriver, Cross Tip
TYPICAL: 2 PLACES
REMOVAL
1. Remove two screws (1) with screwdriver.
2. Lift strainer (2) out of basin.
INSTALLATION
1. Position replacement strainer (1) over floor or ceiling drain.
2. Attach strainer (2) to drain using two screws(1).
3-19

