
TM 9-2320-211-10
(18) Push upward on roof panel (10) and swing both end panel doors (1) closed so that
all seals fit snugly.
(19) Use large end of side panel lock wrench (14) to fully extend front and rear sliding
bolts (12) so they engage in door guide latch (13).
CAUTION
Maintain alinement of end panel doors with corner posts so that doors and corner
posts are parallel when closing side panels.
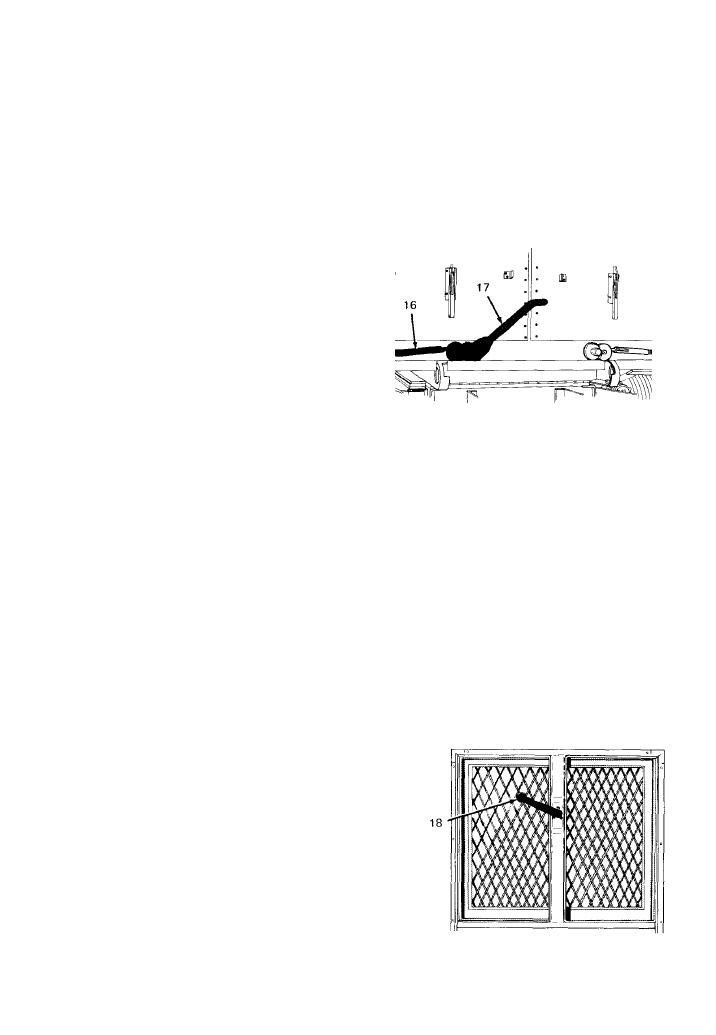
(20) Set locking plunger (16), turn
drive shaft wrench (17) counterclockwise to
crank right side panel in (clockwise to crank
left side in) enough to permit attaching
toggle clamps (7) to swivel hooks (8). Do
not attempt to close clamps yet.
NOTE
Lift edge of roof panel up near end panel doors to ensure seal alinement. Partially
close clamps to draw side panel tight against roof panel.
(21) Continue to crank side panel in, until lower edge of panel is tight against edge of
floor.
(22) Close toggle clamps (7) to pull upper edge of side panel tight against edge of roof
panel (10).
(23) Tramp heavily on floor to relieve binding and aid engagement of roof panel and side
panel guide pins.
CAUTION
Make sure that sliding bolts (12) are fully extended and engaged in door guide latch
(13).
(24) Stand on drive shaft wrench handle to force side panel into closer contact with
edges of roof and floor panels.
( 2 5 ) On models with lockrods,
remove front and rear side lockrods (2) from
retaining clips and swing down to engage end
of lock handle (4). Push lock handles closed
and secure with chained pins (5).
(26) Lower window blackout panels
(15) and open side windows with window
regulator (18).
TA 067069
2-95
