
TM 9-4120-403-14
u. After 15 minutes, observe the sight glass on back of the unit back panel.
Green center means the refrigerant moisture content is acceptable.
Yellow center means there is too much moisture in the system. It must be discharged, evacuated, and
charged again.
Milky white or bubbly liquid means the system has a low charge.
Clear bubble-free liquid around the center means the system is fully charged.
v. If charge is low, add gas refrigerant.
(1) Be sure that drum is switched to gas position. Open the drum valve and the air conditioner low pressure
service valve.
(2) Continue to charge until sight glass is clear and bubble-free.
(3) Close the air conditioner low pressure charging valve and refrigerant drum vave.
l
w. Check air conditioner for proper cooling. There should be at least a 15 temperature difference between
F
evaporator discharge air and the inlet air. Turn the mode selector switch to OFF.
x. Assure that the high and low pressure air conditioner charging valves are closed and remove the charging
manifold hoses from the air conditioner charging valves.
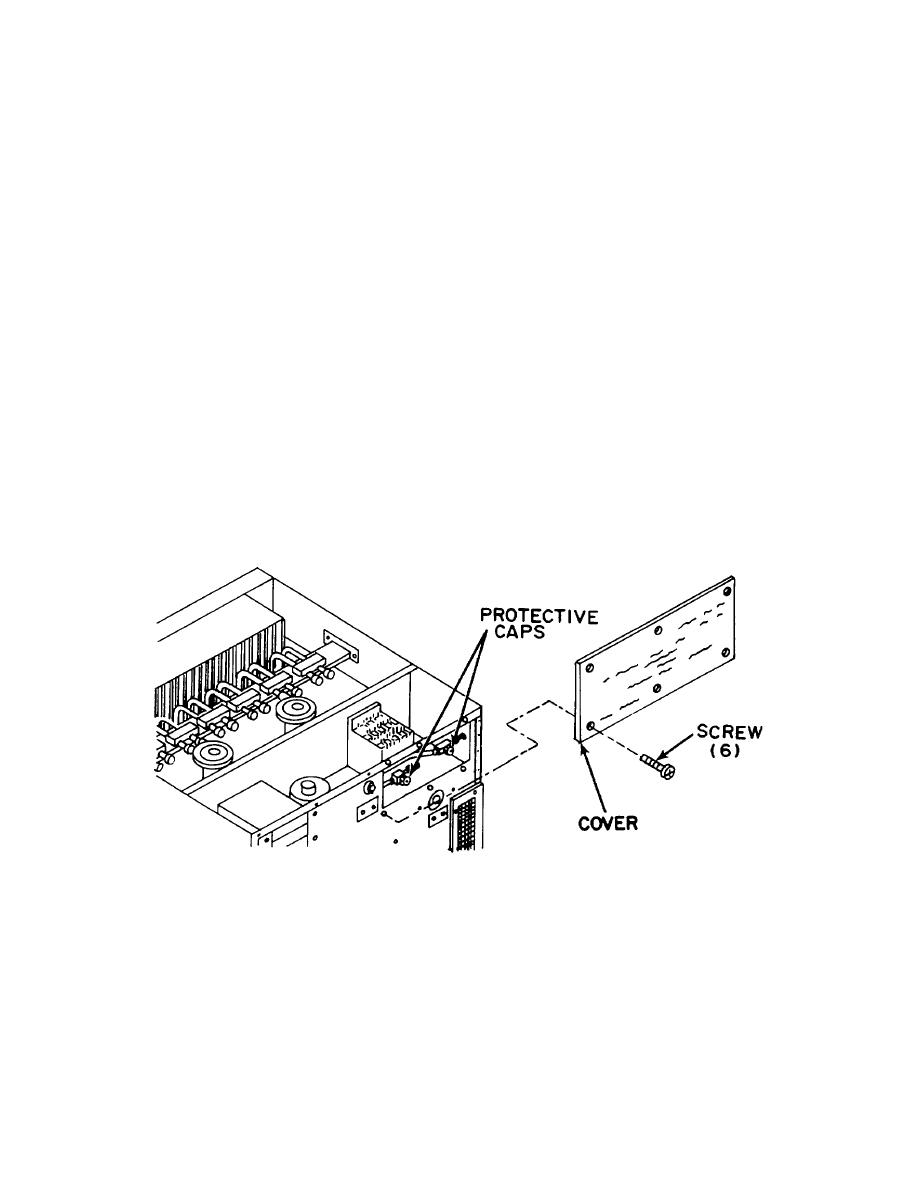
y. Install service valve protective caps.
z. Secure charging valve access cover with six screws.
Figure 5-10. Charging Valves Caps and Cover
5- 28
