
TM 9-2330-384-14&P
4-43. AIR RESERVOIR REPLACEMENT (Con't).
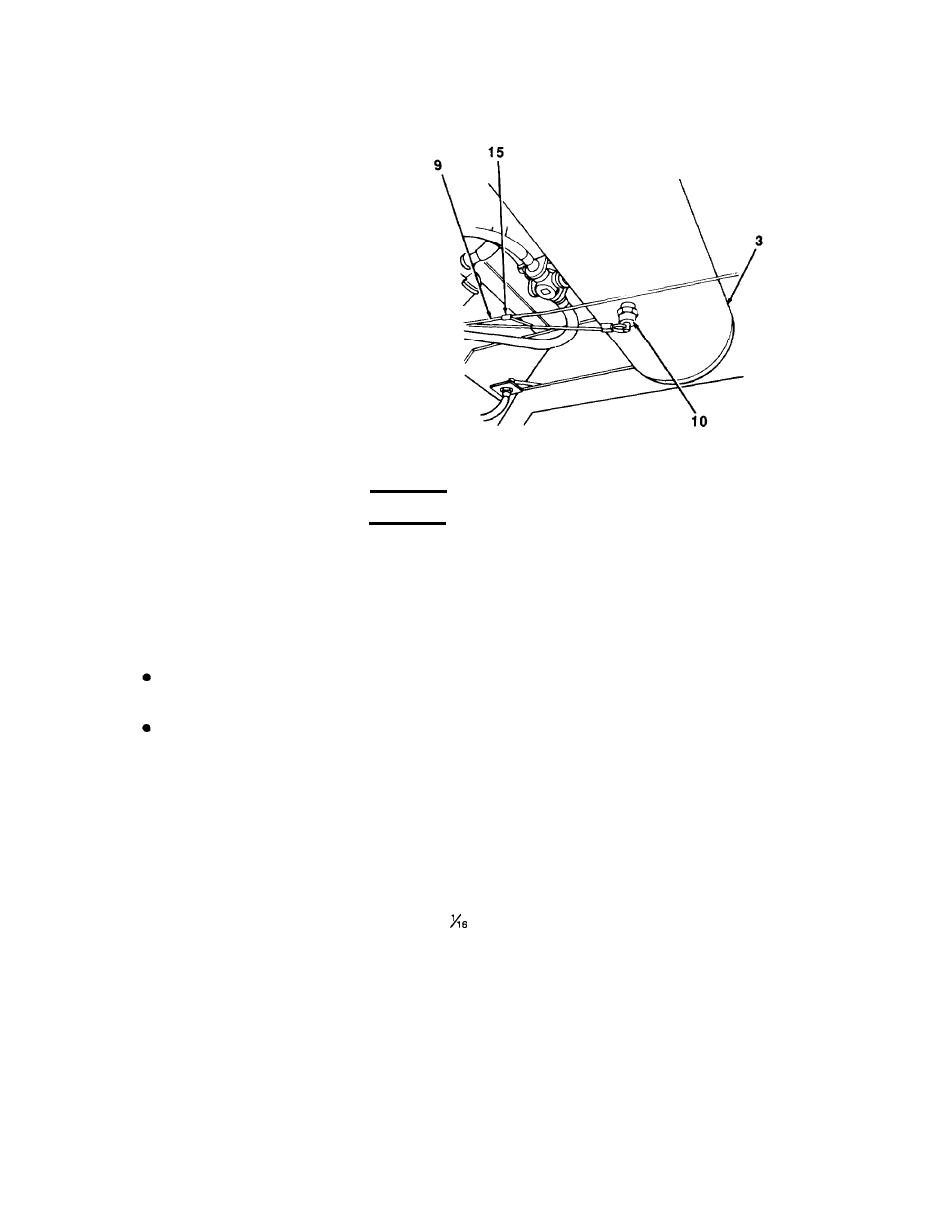
If draincock (10) is damaged, cut
(8)
draincock cable (9) at sleeve
(15). Discard sleeve. Replace
draincock.
b. INSTALLATION
WARNING
Ensure that air lines do not rub against each other or any other surface when
installed. Relocate or provide support, as required. If air lines rub, a leak
may develop, resulting in brake lockup and possible serious injury or death
to personnel.
NOTE
All male threads of fittings should be coated with antiseize tape if not al-
ready factory-coated with an antiseize compound.
Ensure that all fittings are installed as tagged.
Install two plugs (11) and two nipples (7) to front air reservoir (13).
(1)
Install elbow (2), two plugs (11), and nipple (7) to rear air reservoir (3).
(2)
Install relay quick release valve (8) and ratio relay valve (12) to air reservoir (3 or 13).
(3)
Place four shock washers (4) on two mounting brackets (5). Position air reservoir (3 or 13)
(4)
with shock washers between air reservoir and mounting brackets and bolt holes alined. Install
four screws (1) and new locknuts (6). Tighten locknuts so that shock washers are com-
in. (1.59 mm).
pressed to a thickness of in. (6.4 mm)
Install draincock (10) to air reservoir (3 or 13).
(5)
If draincock (10) was replaced, pass one draincock cable (9) through loop at bumper.
(6)
Connect draincock cable (9) to other cable with new sleeve (15). Crimp sleeve with vise
(7)
grips. Cut excess length of cable.
If installing rear air reservoir (3), connect EMERGENCY air line (14) to elbow (2) at roadside.
(8)
4-132

