
TM 9-4120-371-14
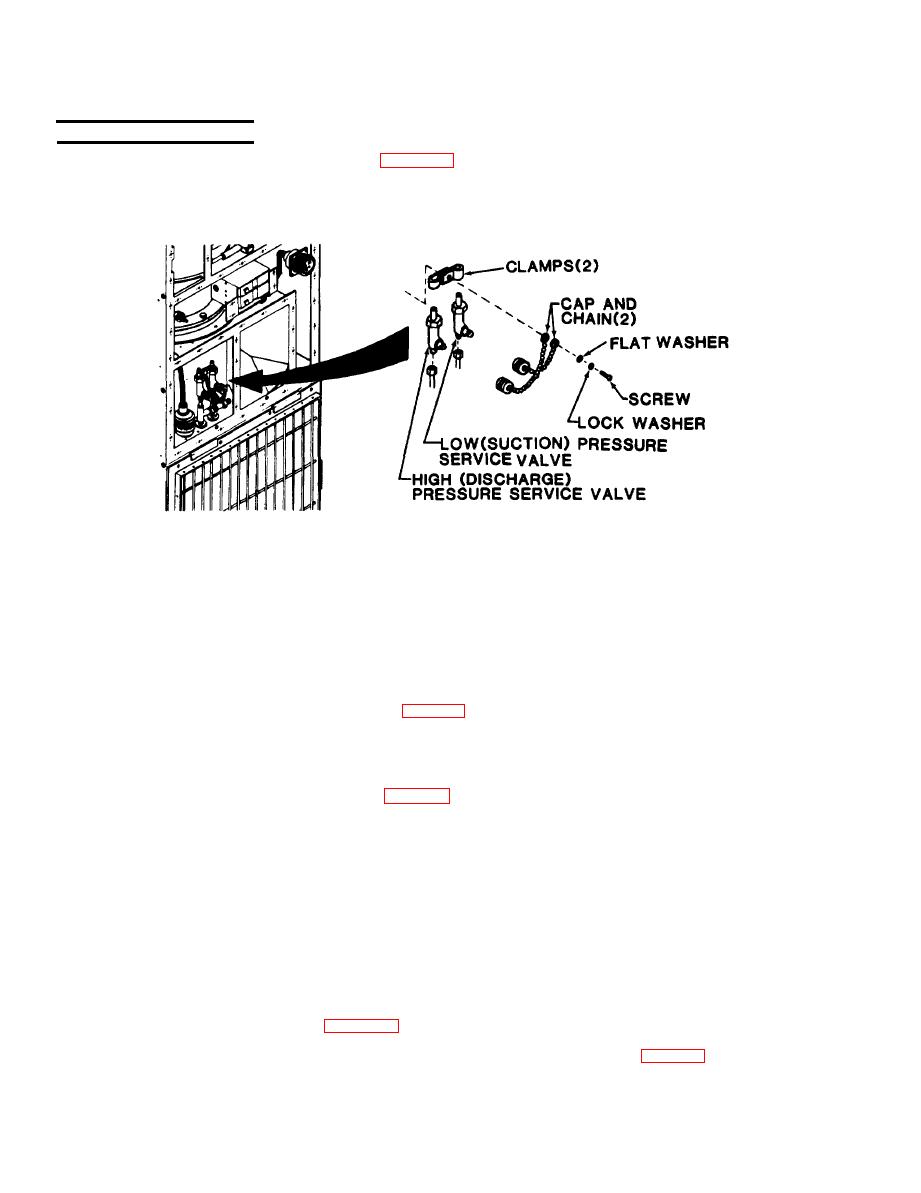
Preliminary procedure: Remove rear panel. (See para 433.)
a. Inspect
(1) Check that caps are in place and that threaded connection ends are not damaged. Replace if missing
or damaged.
(2) Check for signs of leakage. Leak test per para 5-9, if leak is suspected.
b. Removal
(1) Using screwdriver, remove screw, lock washer, flat washer, and clamp.
(2) Discharge the refrigerant system. (See para 5-6.)
(3) Observe position of valve for proper installation.
(4) Using two wrenches, restrain valve body and loosen and disconnect flare nut.
(5) Remove the valve.
c. Installation
(1) Position valve in unit as noted during disassembly.
(2) Using two wrenches, restrain valve body and tighten flare nut.
(3) Using screwdriver, secure valve and cap and chain with screw, flat washer, lock washer, and clamp.
(4) Replace the dehydrator. (See para 5-13.)
(5) Leak test the newly connected joints and all connections in those areas. (See para 5-9.)

