
TM 9-4910-387-14-2
SERVICING
REPAIR
NOTE
Repair is by replacement of authorized parts (TM 9-
4910-387-24P) as required.
For replacement of wire, refer to items 25 thru 32, app
3 RH CONTROL PANEL AND RH EN CLOSURE. Clean with
template. Crimp appropriate terminal lug (items 21 thru
24, app C) on wire end as required. Be sure to tag
termination points on any new wire.
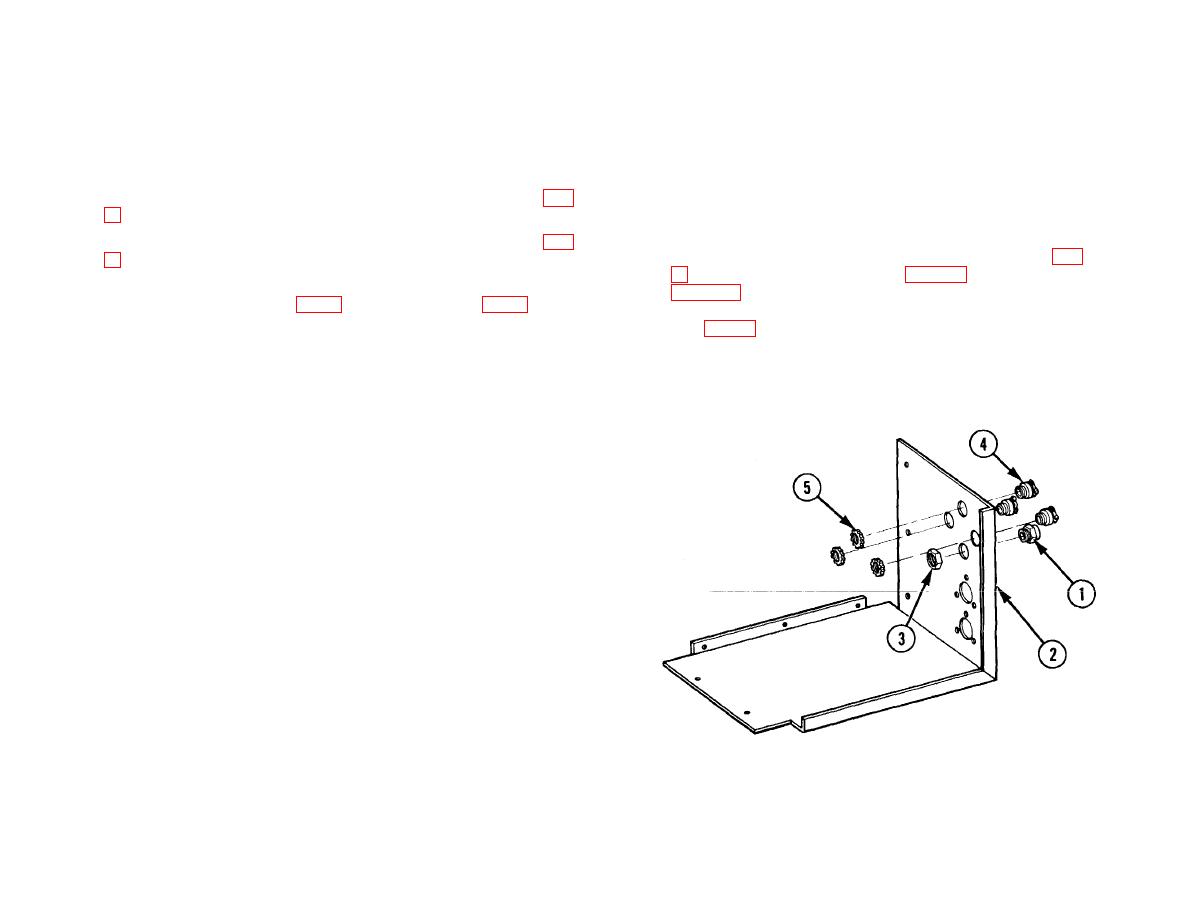
REASSEMBLY OF RH ENCLOSURE ASSEMBLY
1 STRAIGHT BOX CONNECTOR (1). Install in RH enclosure (2).
2 NUT (3). Install on straight box connector (1).
3 THREE STRAIGHT BOX CONNECTORS (4).
Install in RH
enclosure (2).
4 THREE NUTS (5). Install on three straight box connectors (4).
6-199

