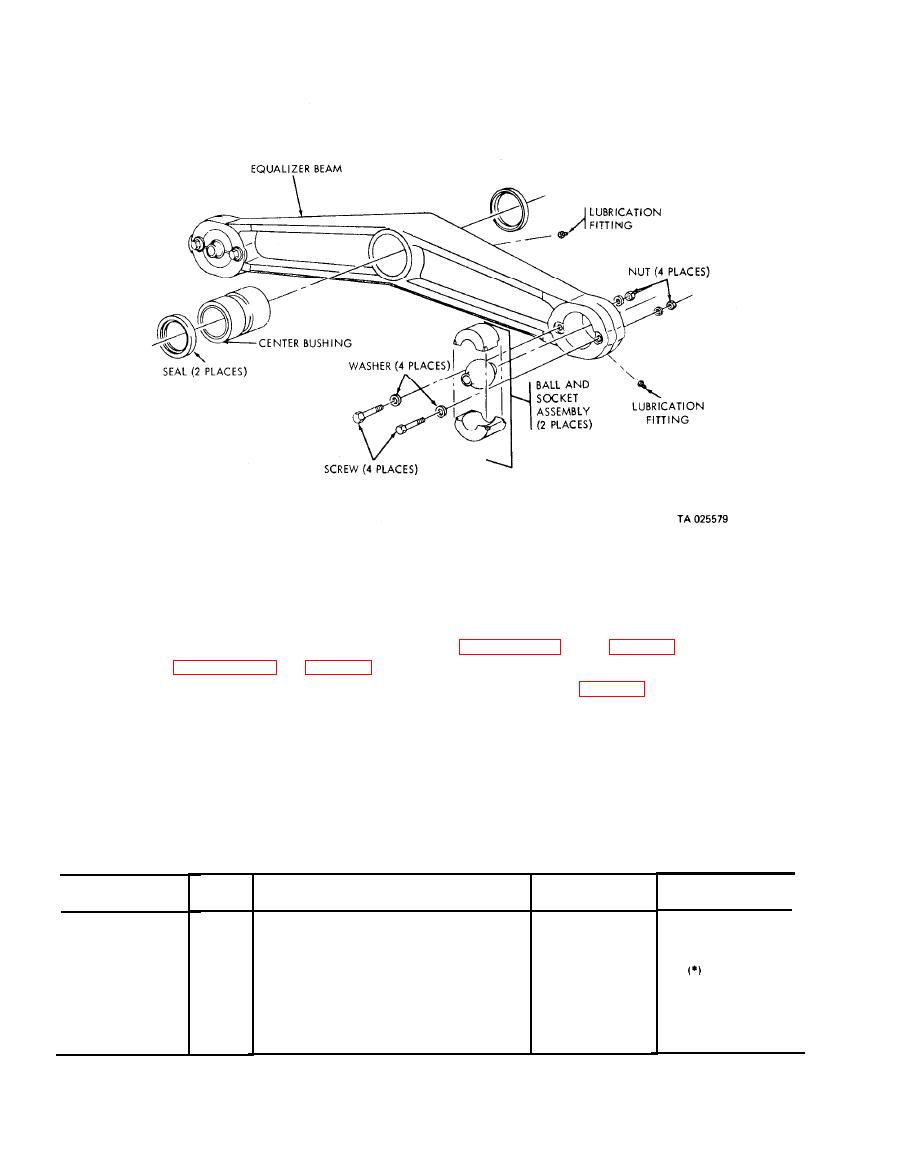
TM 9-2330-294-14
(2) Straighten bent or distorted hanger
brackets and weld cracks or breaks in brackets on
a. Cleaning. Clean all parts using dry-cleaning
axle.
solvent type II (SD-2).
(3) Replace parts worn beyond limits specified
b. Inspection.
in paragraph 6-6 and in table 6-1.
(1) Inspect components for wear and fit in
accordance with paragraph 6-6 and table 6-1.
(2) Inspect equalizer beam center bore for
The repair standards (table 6-1) give the minimum,
scoring.
maximum and critical clearance of new or rebuilt
(3) Inspect axle journals for extreme wear. No
parts. They also give wear limits which indicate the
more than 10 percent of bearing surfaces can be
point to which a part(s) may be worn before
pitted or scored. Markings cannot be over 0.002
replacement. An asterisk (*) in the wear limits
inches deep.
column indicates that the part(s) should be replaced
(4) Inspect axle for bent or distorted hanger
when worn beyond the limits given in the size and fit
brackets.
of new parts column. The leter (L) indicates loose
c. Repair.
fit.
(1) Replace damaged or defective parts.
and
Axle
Size and fit
Figure
Wear limits
Reference
letter
number
(DS&GS)
Point of measurement
of new parts
F
Beam center pin o.d.
6-2
3.997-3.999
3.994
Beam center bushing id.
4.007.4.009
G
4.011
F-G
Fit of pin in center bushing
0.008
L-0.012L
0.017L
Thrust washer flatness
c
within
0.020
E
Beam-to-axle
shaft
1.371.1.374
1.370
D
Beam end bushing id.
1,375-1.377
1 .378
D-E
Shaft (beam to axle) to beam bushing clearance
0.008L
0.00 IL. 0.006L
Axle spindle outer bearing surface o.d.
A
3.3748-3.3738
3.3733
B
Axle spindle inner bearing surface o.d.
4.1248-4.1238
4.1288


