TM 9-3431-254-14&P
RANGE SWITCH MAINTENANCE
Due to a tight fit of the switch housing, burred contacts
or congealed grease, operation of the switch may be-
come stiff or totally impaired. The switch will have to
be dismantled to inspect and dean it. Proceed as follows
to service the switch. See Figure 8 for details and call-
outs found in the text.
NOTE: It is not necessary to discon-
nect the wiring from the switch. Do
not remove the switch assembly
from the front panel as a complete
assembly, but remove it by disassem-
bling, as follows:
1. Remove three screw (1), and take the handwheel
assembly (2) off from the switch.
2. Remove the snap-ring (3) and washer (4). Snap-ring
pliers will be needed to remove the snap-ring.
Exciter/Auxiliary Brushes
Figure 7
3. Slide the front-plate assembly (5) (which includes
plate, lugs, bushing and also the contact mount and
LOSS OF MAGNETISM
actuating screws) off from the post (8) on the back
If generator fails to build up voltage after attaining full
plate. This post extends, through the switch, and Pro-
RPM (1800-1825 RPM), it may be caused by the exciter
trudes out through the front panel (6).
having lost its residual magnetism in shipping or moving
the unit Verify this loss of magnetism by measuring the
4. Clean the internal parts of the switch, removing
A-C exciter output voltage at the receptacle. If less than
congealed grease, preferably using a non-f!ammable sol-
6 volts, proceed as follows:
vent.
Shut engine down. Replace 4-ampere fuse in the auto-
5. Check for and remove any burrs which may be found
matic field-flashing circuit. (See Connection Diagram. )
on the switch contacts (7), using a fine file or suitable
sandpaper.
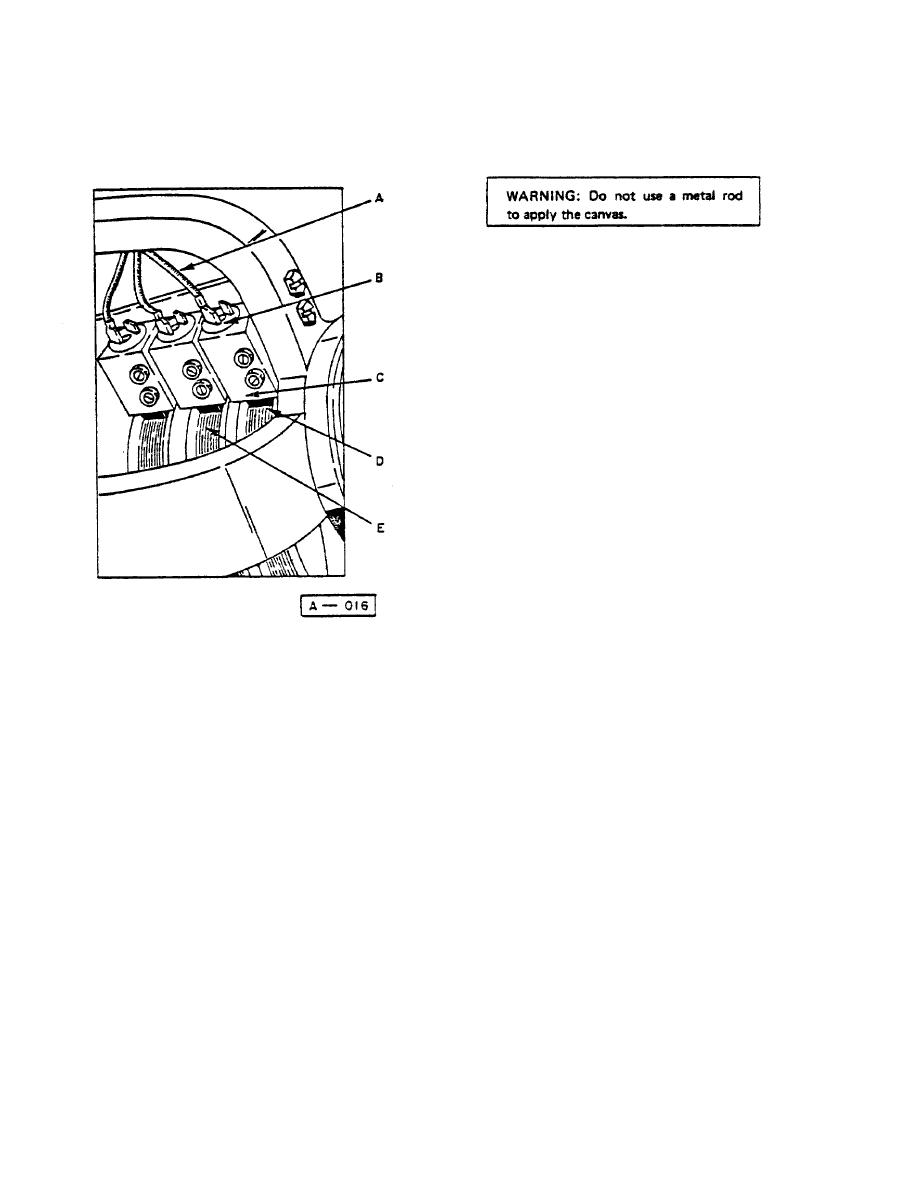
SLIP RING CLEANING
6. Apply a light coat of grease recommended for use on
If the slip rings get dirty, clean them while they are ro-
electrical equipment, and reassemble the switch. Follow
tating, by using a wooden stick to apply a piece of heavy
the above sequence in reverse, to reassemble the switch.
canvas to them.
See Figure 8.
14


