
TM 9-4120-395-14&P
5-16. OUITDOOR COIL-Continued.
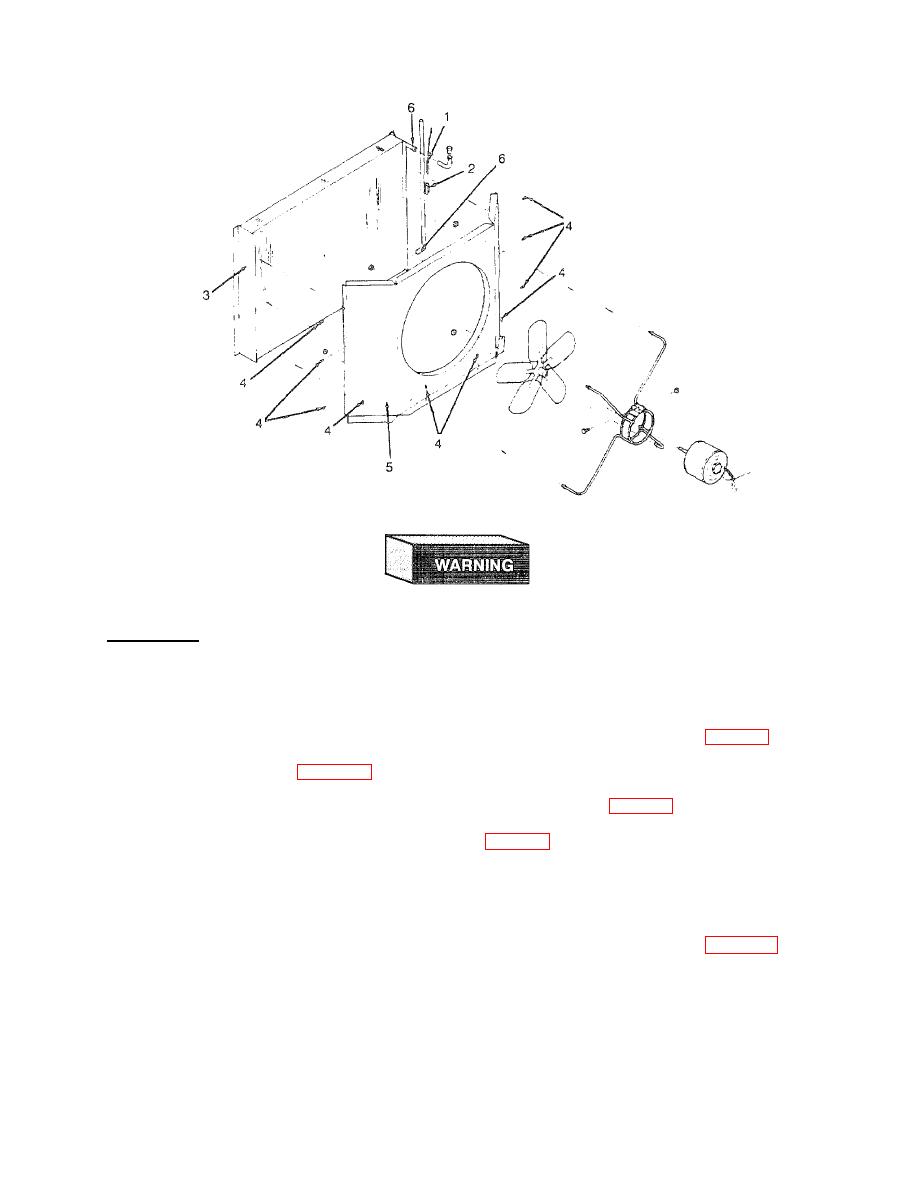
Figure 5-6. Outdoor Coil
When handling coils, wear gloves to avoid cuts and to reduce fin damage on the coil.
b. Installation.
(1) Carefully slide outdoor coil (3) into the unit.
(2) Align refrigerant tubing at joints (6) with outdoor coil.
(3) Purge the system with nitrogen and braze the tube joints (6) at the outdoor coil. See para 5-6 and 5-7.
(4) Replace the drier. See para 5-12.
(5) Leak test all newly connected joints and those in the repair area. See para 5-8.
(6) Evacuate and charge the refrigeration system. See para 5-9 and 5-10.
(7) Secure the venturi panel (5) with the ten screws (4).
(8) Place the defrost control bulb (1) in its holder (2) on the coil (3).
(9) Replace both front door assembly and the coil guard and side door assemblies. See para 4-17 and 4-19.
5-29
