TM 9-2330-227-14&P
AIRBRAKE COUPLINGS - CONTINUED
ACTION
ITEM
REMARKS
LOCATION
INSTALLATION - CONTINUED
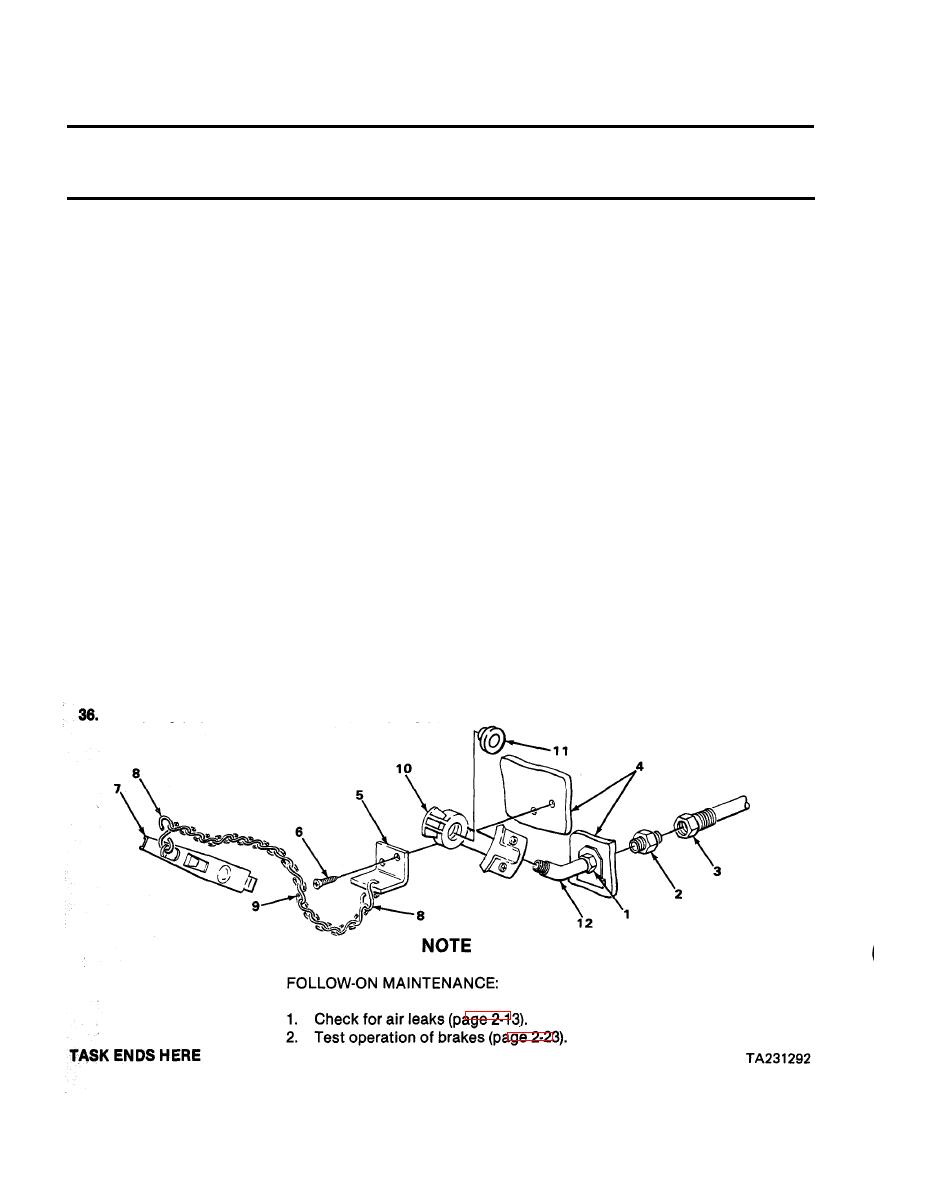
Adapter (2)
a. Wrap threads clockwise two
29. Nipple pipe (1)
turns with teflon tape.
b. Screw in, and tighten using 9/16-
inch box-end wrench.
Nut (3)
Screw in, and tighten using 5/8-inch
30. Adapter (2)
open-end box wrench and 9/16-inch open-
end wrench.
Bracket (5)
Place in position, and hold.
31. Van body (4)
Two screws (6)
Screw in, and tighten using number two
32. Van body (4) and
cross-tip screwdriver.
bracket (5)
Two S-links (8)
Put in place, and using slip-joint
33. Bracket (5)
with chain (9)
pliers, bend links (8).
dummy coupling (7)
Preformed
Push in place until completely seated in
34. Coupling (10)
packing (11)
coupling (10).
Coupling (10)
a. Wrap threads clockwise two
35. Elbow (12)
turns with teflon tape.
b. Screw in, and tighten using 11/8-
inch open-end wrench and pipe wrench.
Put in place, and twist.
Dummy coupling (7)
Coupling (10)
4-130


