
TM 55-1925-284-14&P
0021 00
INSTALLATION
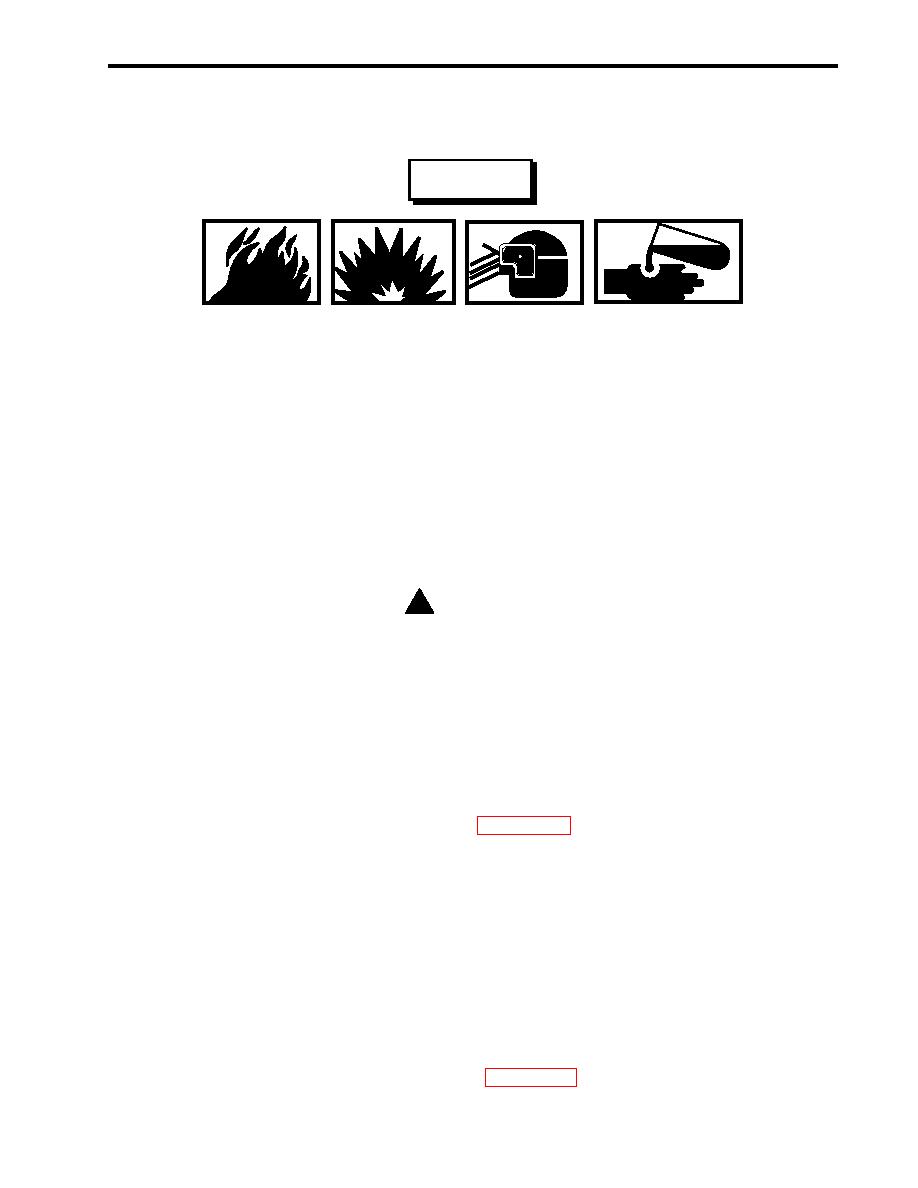
WARNING
Cleaning solvent is flammable and its vapor is potentially explosive. Do not use
cleaning solvent in the vicinity of spark, open flame, or excessive heat. Do not
use cleaning solvent in unventilated spaces. Failure to follow these precautions
can result in death or serious injury.
Removing components by means of wire brushing produces flying particles. These
particles can cause serious injury to personnel. Protective goggles, gloves, and
long sleeves must be worn at all times during wire brushing operations. Failure
to comply with this warning can result in serious injury to personnel.
1. Clean all piping, valves and fittings with dry cleaning solvent and a wire brush. Allow all piping, valves, and
fittings to air dry before continuing with the procedure.
! CAUTION
Failure to use two wrenches while tightening unions, fittings, valves and piping may
cause damage to the valves, piping, fittings and unions.
2. Apply antiseizing tape to all male blower discharge fittings (figure 1, item 12) and install them in the blower
(figure 1, item 10).
3. Install the blower (figure 1, item 10) on the mounting plate (figure 1, item 11) and secure it to the studs
(figure 1, item 9) with four new lockwashers (figure 1, item 8) and four nuts (figure 1, item 7).
4. Perform the Replace Silencer Installation procedure (WP 0018 00).
5. Apply antiseizing tape to the male threads of the pressure gauge (figure 1, item 6) and install it in the tee fitting
(figure 1, item 4).
6. Apply antiseizing tape to the male threads of the relief valve (figure 1, item 5) and install it in the tee fitting
(figure 1, item 4).
7. Install the check valve (figure 1, item 3) in the tee fitting (figure 1, item 4).
8. Install the discharge piping (figure 1, item 1) in the check valve (figure 1, item 3).
9. Connect the blower discharge piping (figure 1, item 1) at the union (figure 1, item 2).
10. Perform the Belt Replacement Installation procedure (WP 0016 00).
0021 00-3

