TM 9-4910-387-14-1
4-18. ACCUMULATOR ASSEMBLY-MAINTENANCE INSTRUCTIONS
THIS TASK COVERS:
a. Removal
d.
Repair
b. Disassembly
e.
Reassembly
c. inspection/servicing
f.
Installation
INITIAL SETUP
Tools and Special Tools
References
General mechanic's automotive tool kit (5180-00-177-7033)
TM 9-4910-387-24P
Materials/Parts
Equipment Conditions
Cleaning compound (item 3, app C)
Main power source to tester is turned off
Rag (item 14, app C)
REMOVAL
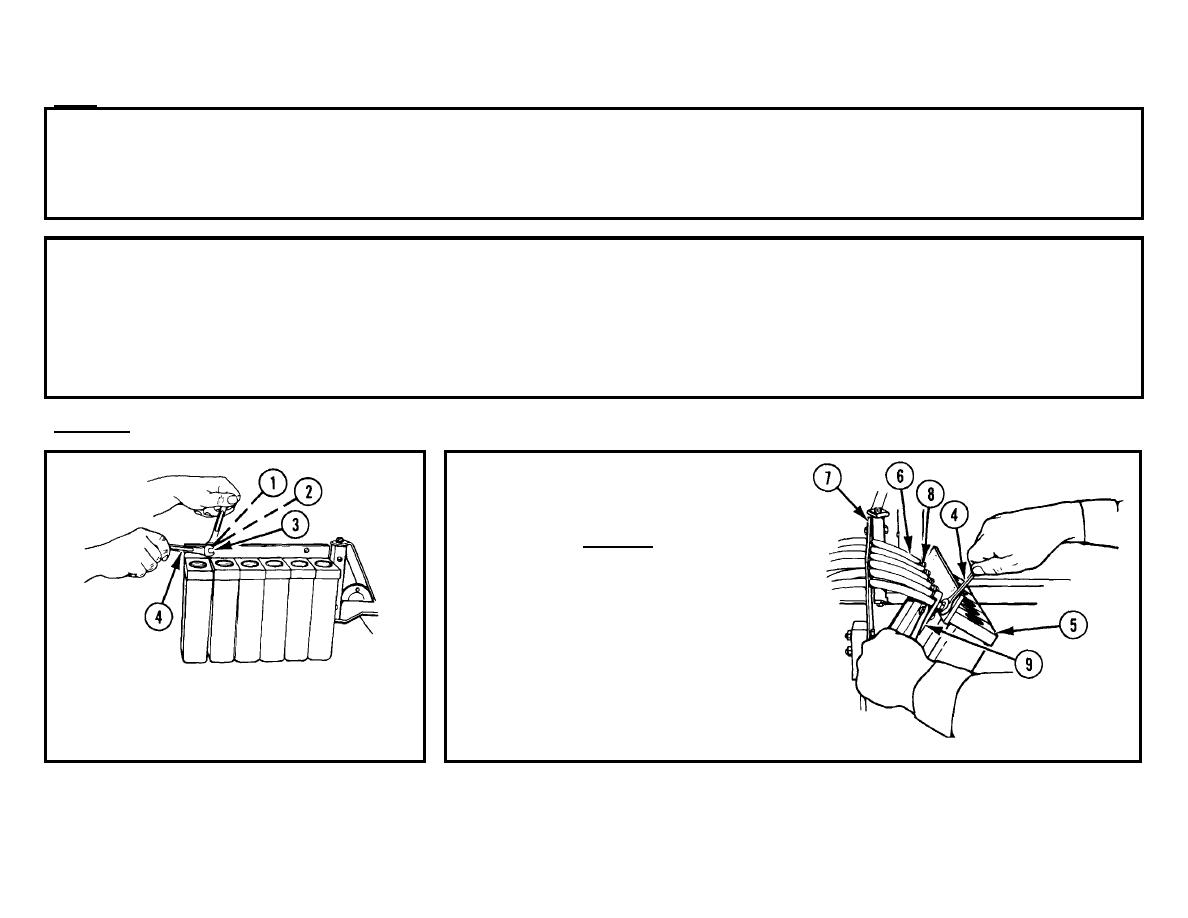
2 ACCUMULATOR ASSEMBLY (5). Pull
forward so six hoses (6) slide through plate
(7).
CAUTION
Be careful when using slip
joint pliers so no damage to
hoses occurs.
Apply only
enough pressure to prevent
hoses from slipping.
3 SIX HOSES (6) WITH SIX MALE H
1 TWO NUTS (1), TWO WASHERS (2), AND TWO
accumulator assembly using 7/16-in.OSE
SCREWS (3). Remove using two 7/16-in. open
FITTINGS (8). Remove from open end
end wrenches (4).
wrench (4) and slip joint pliers (9).
4-59

