TM 55-1925-284-14&P
0017 00
4
1
1
5
6
2
3
2
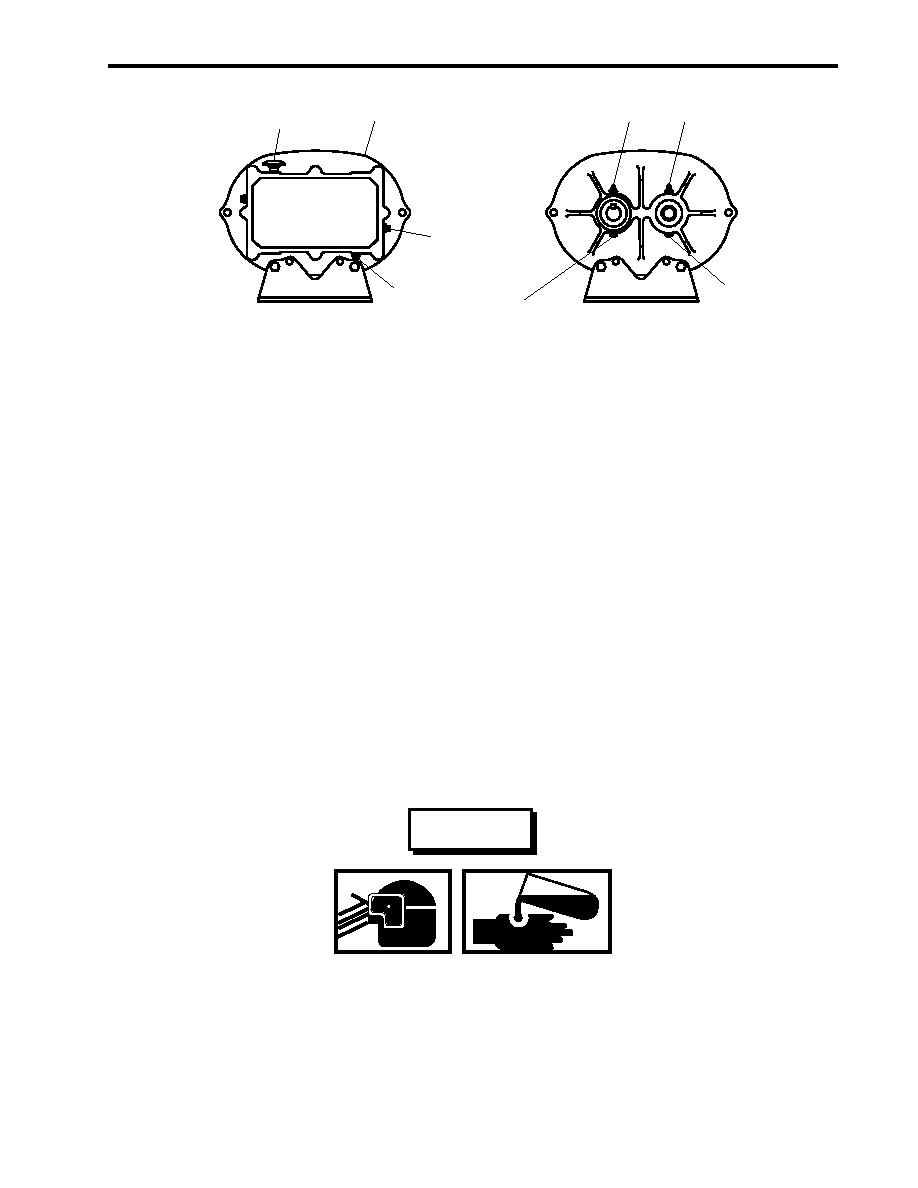
Horizontal Gear End
Drive Shaft End
Figure 2. Blower Service Locations
ASSEMBLY
1. Use clean wiping rags to remove all remaining grease from the work area.
2. Position the belt guard (figure 1, item 4) over the studs (figure 1, item 3) on its base (figure 1, item 5) and
secure it with the four nuts (figure 1, item 1) and four new lockwashers (figure 1, item 2).
3. Perform the Follow-On Service procedure at the end of this work package.
CHANGE BLOWER OIL
DISASSEMBLY
1. Remove the four nuts (figure 1, item 1) and four lockwashers (figure 1, item 2) from the studs (figure 1,
item 3) that secure the belt guard (figure 1, item 4). Discard the lockwashers.
2. Remove the belt guard (figure 1, item 4) from its base (figure 1, item 5).
3. Position a suitable drain pan under the oil drain plug (figure 2, item 3) of the blower (figure 2, item 4).
WARNING
Do not allow hydraulic fluid, engine oil, or cleaning solvents to come in contact
with unprotected skin or eyes. Prolonged skin contact can cause illness or injury.
Eye contact can cause serious injury. Always wear chemical protective gloves
and goggles when handling hydraulic fluid, engine oil, and cleaning solvents.
Failure to follow these precautions can result in illness or serious injury.
4. Remove the oil drain plug (figure 2, item 3) and allow the oil to drain into the suitable drain pan.
0017 00-3

