TM 9-2330-271-14&P
door, remove eight screws (2) securing screen (1), and
(3) Inspect shields for bends, dents and
remove screen.
distortion. Straighten and paint as necessary.
b. Removal of Vent Cover and Rainshield.
(4) Check stay for misalignment. Straighten
or replace as necessary.
Remove rivets (13 or 15)securf02ing vent cover (14),
(5) Inspect captive screws, thumb screws,
rainshield (10), or their respective hinges.
c. Installation.
rivnuts and receptacles. Replace defective parts.
Install replaced parts in the
(6) Clean all parts with water and a stiff
reverse order of paragraphs a and b above.
brush. Remove grease and oil with approved solvent
4-71.
Access Openings
d. Installation. Install all parts in the reverse order
of the removal procedure.
a. Removal of Covers, Hinges and Cover Seals.
Remove rivets securing cover and remove cover.
4-72.
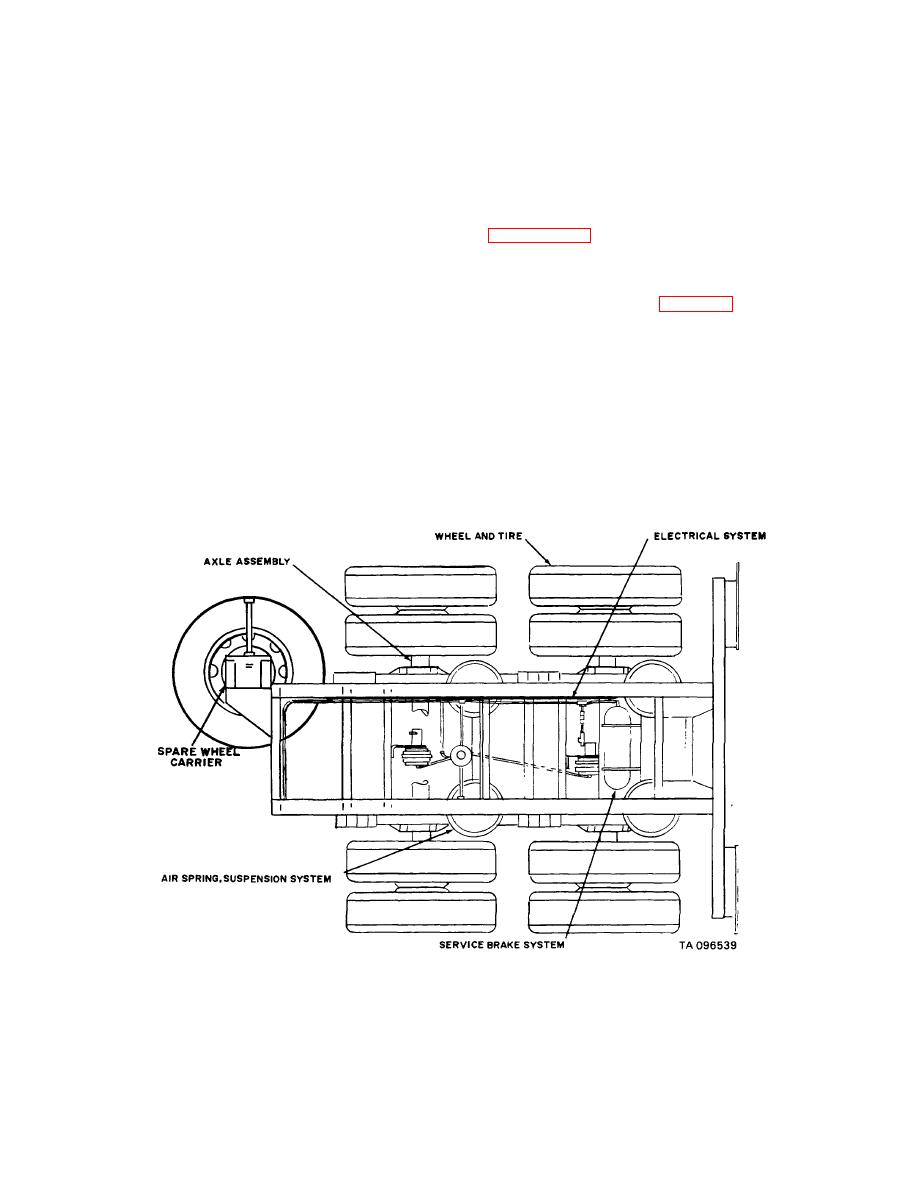
Dolly Assembly (fig. 4-46)
Remove rivets securing hinge and remove hinge. Pry off
seals.
a.
General.
b. Removal of Shield Assembly. Open cover and
(1) The dolly assembly consists of a frame
remove rivets securing shield assembly hinge and
assembly, dual wheels and tires, axle and brake
remove shield assembly.
assembly, suspension system, leveling jacks, spare
c. Inspection and Repair.
wheel carrier assembly, towing pintle and hook for towing
(1) Inspect cover for warpage and distortion.
vehicle safety chain, electrical system for running lights,
Straighten and repaint if necessary. Replace defective
and electrical and brake connections for towed vehicle.
cover.
(2) Inspect hinges for straightness and
deterioration. Straighten bent hinge. Replace defective
hinge.
Figure 4-46. Dolly assembly, XM912, XM918
4-69

