
(2)
Place this strip against the magnetic rollers from the rear of the machine on the first channel.
(3)
Slide the strip toward the lower blade.
(4)
Adjust the stop nuts on the channel support rods so that the strip will just clear the edge of the lower blade with
the channel level (check with a machinist level.).
(5)
Follow the same procedure with the other channels.
The magnetic rollers are mounted in the channels with clearance holes. This allows moderate variation in thickness
of materials - it eliminates the necessity of a complete readjustment of all the channels when different gauge is sheared.
The material should be reasonably flat. Kinked or bent material will have a tendency to fall off the magnetic materials.
If very thin material fails to slip off the roller channels and fall to the water chute at the end of the cutting cycle, raise
and clip some of the channels.
When not required, the magnetic channels should be pulled up out of contact with the material. Special clips are
provided that are inserted on the front and rear rods between the stop nut and washer and will hold the channels up.
The magnetic rollers are guaranteed to hold their strength indefinitely.
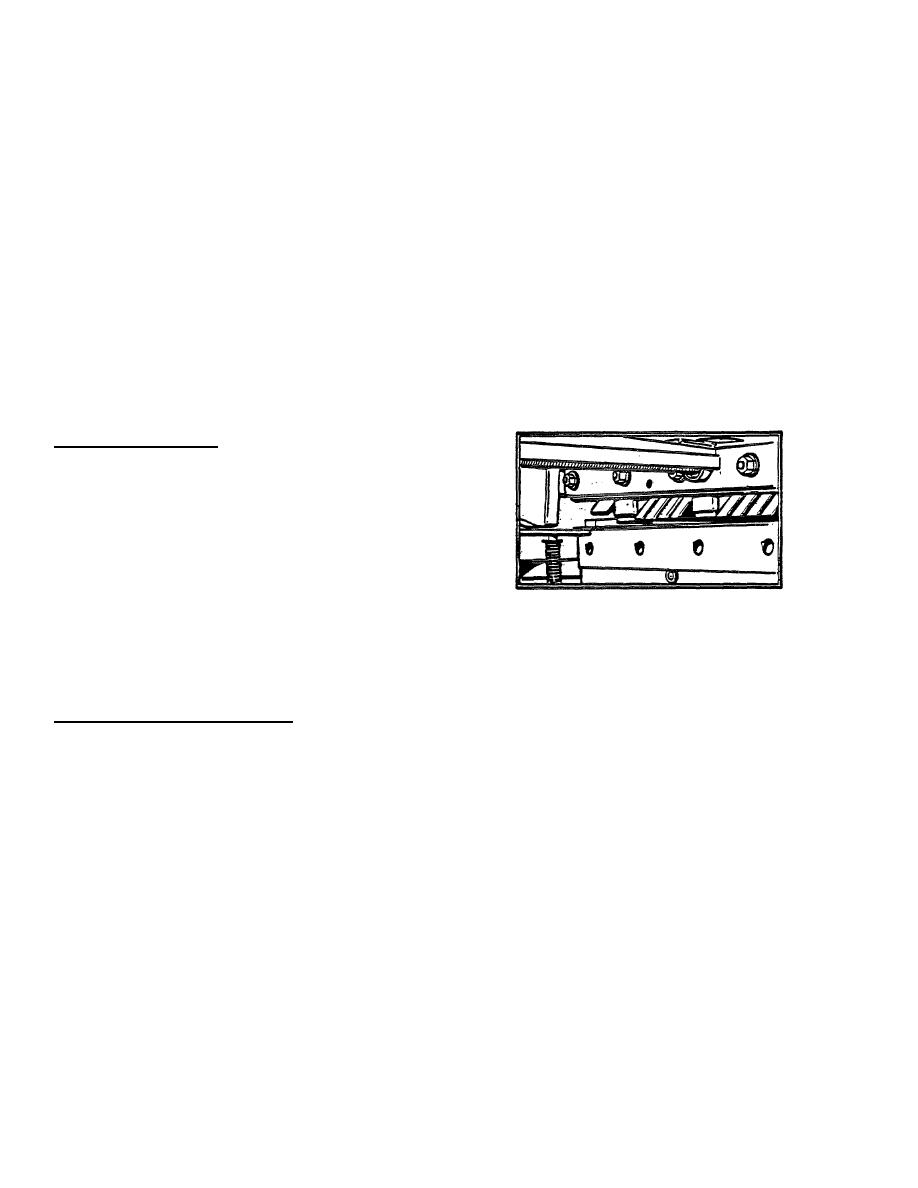
PLATE SUPPORT ARM
The Plate Support Arm is valuable when cutting
strips. The Support Arm is spring loaded and holds the
material up until the cut is completed-eliminating
distortion of the sheared edge. The Support Arm should
be adjusted to the same height as the shear table.
MAINTENANCE HINTS
There are many superior design features built into your shear; however, without proper maintenance and adjustment,
the machine will not perform as it should. To keep your shear operating at peak efficiency, the following hints may be
helpful.
SHEAR NOT CUTTING CAPACITY
If your shear is not cutting capacity, the two things to check first are, the air pressure and condition of the blades.
Air pressure for the air clutch should be set at 80 Psi. If the gauge reads 80 psi, shut off the main air line to the shear and
let the flywheel come to rest. Set the selector switch on the control box to 'inch", and jog the foot switch repeatedly until all
of the air bleeds out of the clutch and air lines. If the air gauge is reading correctly, it will drop to zero. If the needle
remains at some position other than zero, the gauge is reading "light" by that amount. For example, if the needle stops at
20 when no air pressure is in the gauge, it will actually require only 60 pounds of air pressure to have It read 80 psi. It is,
therefore, 20 psi "light". To correct this condition, either compensate for the "lightness" in the adjustment of the gauge or
replace the gauge with one known to be correct.
Dull or nicked blades will not only keep the shear from cutting capacity but will also overload the machine.
MAINTAIN SHARP BLADES.
38
