
TM 9-4120-370-14
TO 35E9-229-1
Except in cases where It is obvious that the refrigerant charge has been lost, the first step in troubleshooting problems
in the refrigeration system should be to check discharge and suction pressures under operating conditions. Check pres-
sures as Follows:
Turn the mode selector switch to OFF.
a.
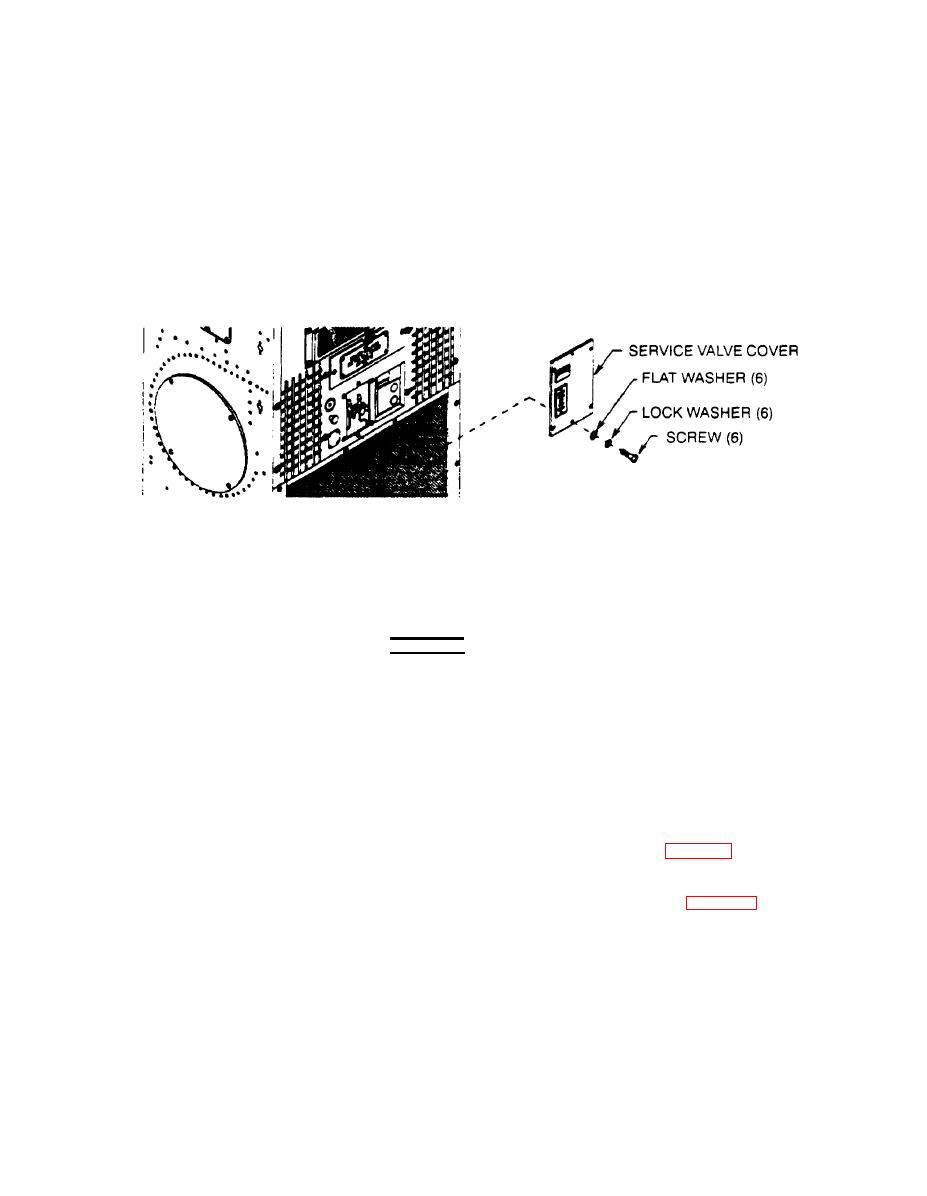
On F36T2SA and F36T42SB open condenser discharge air deflector door.
b.
Using screwdriver, remove six screws, lock washers, and flat washers from service valve cover.
c.
Remove valve stem and hose connection protective caps from service valves. Take care that valve stem caps
d.
are not lost.
e.
Connect individual pressure gages, or a refrigeration charging manifold and hoses to the high (discharge) and
low (suction) service valves.
CAUTION
Take care that only a very small amount of refrigerant is allowed to escape during
hose purging.
f.
Loosen hose connections at gages or charging manifold.
Operation (discharge) pressure service valve slightly to purge air from hose. Tighten high pressure hose con-
g.
nection at gage fitting as soon as a hissing sound is heard.
h.
Open low (suction) pressure service valve slightly to purge air from hose. Tighten low pressure hose connec-
tion at gage fitting as soon as a hissing sound is heard.
i.
Open the low (suction) and high (discharge) service valves.
Both gages should read the same. Check the reading with the appropriate column in Table 51. If the system
j.
is even partially charged, the pressure should be approximately equal to that shown in the table for the
appropriate ambient temperature. If the pressure is considerably less than shown in the table, the system does
not contain enough refrigerant to continue the pressure check; go to leak testing. (See para 510.)
k.
Turn the mode selector switch to the COOL mode with the Temperature control thermostat in the full
DECREASE setting for a few minutes.
l.
With the unit operating, allow gages to stabilize. Take readings of the two gages.
