TM 9-2330-294-14
d. Inspection and Repair. Thoroughly clean all
metal parts with dry cleaning solvent type II (SD-2)
and dry with low pressure compressed air.
NOTE
Do not use dry cleaning solvent to clean any
rubber parts.
Thoroughly clean seal assemblies and gaskets with
mild soap solution and dry with low pressure
compressed air. Wire brush plunger parts and ad-
justing bolt threads, if required, to remove caked-on
dirt and corrosion. Inspect seal assemblies and
gaskets for tears, cuts and deterioration, and replace
if damaged. Check the angled plunger roller faces for
pits, nicks or grooves, and replace if necessary.
Check anchor plunger nose for burrs, and remove
with crocus cloth, if necessary. A bright, shiny
surface where wedge assembly roller contacts
plunger surface is normal. Check threads of ad-
justing bolt assembly and replace assembly if
damaged.
e. Assembly.
.
NOTE
Each plunger housing assembly has one
adjusting plunger and one anchor plunger.
The anchor plunger is marked on the slotted
end, "R" for right-band brakes and "L" for
left-hand brakes. DO NOT mix at assembly.
(1) Assemble seal assembly onto anchor
plunger in the following manner (fig. 4-38):
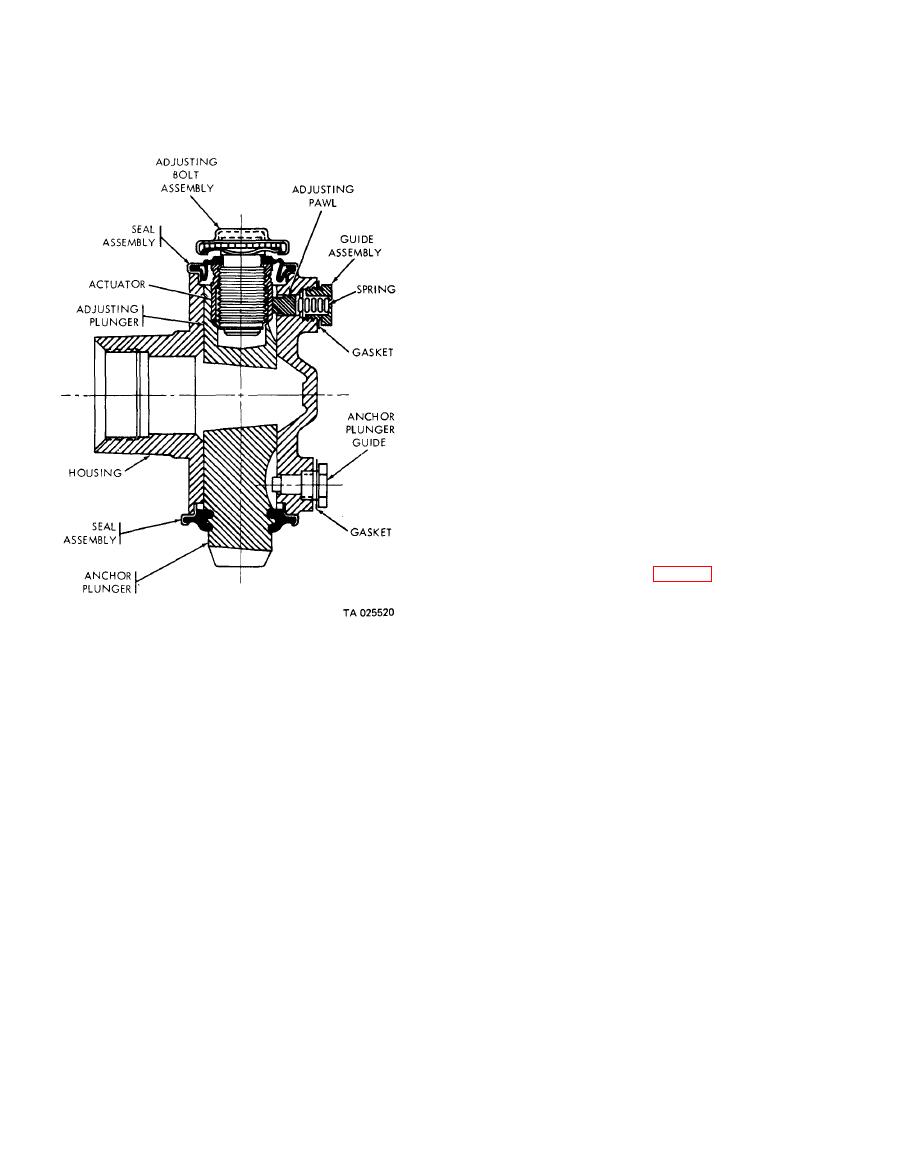
Figure 4-37. Plunger housing assembly (semitrailer No. 201
and on ).

