
TM 9-2330-371-14&P
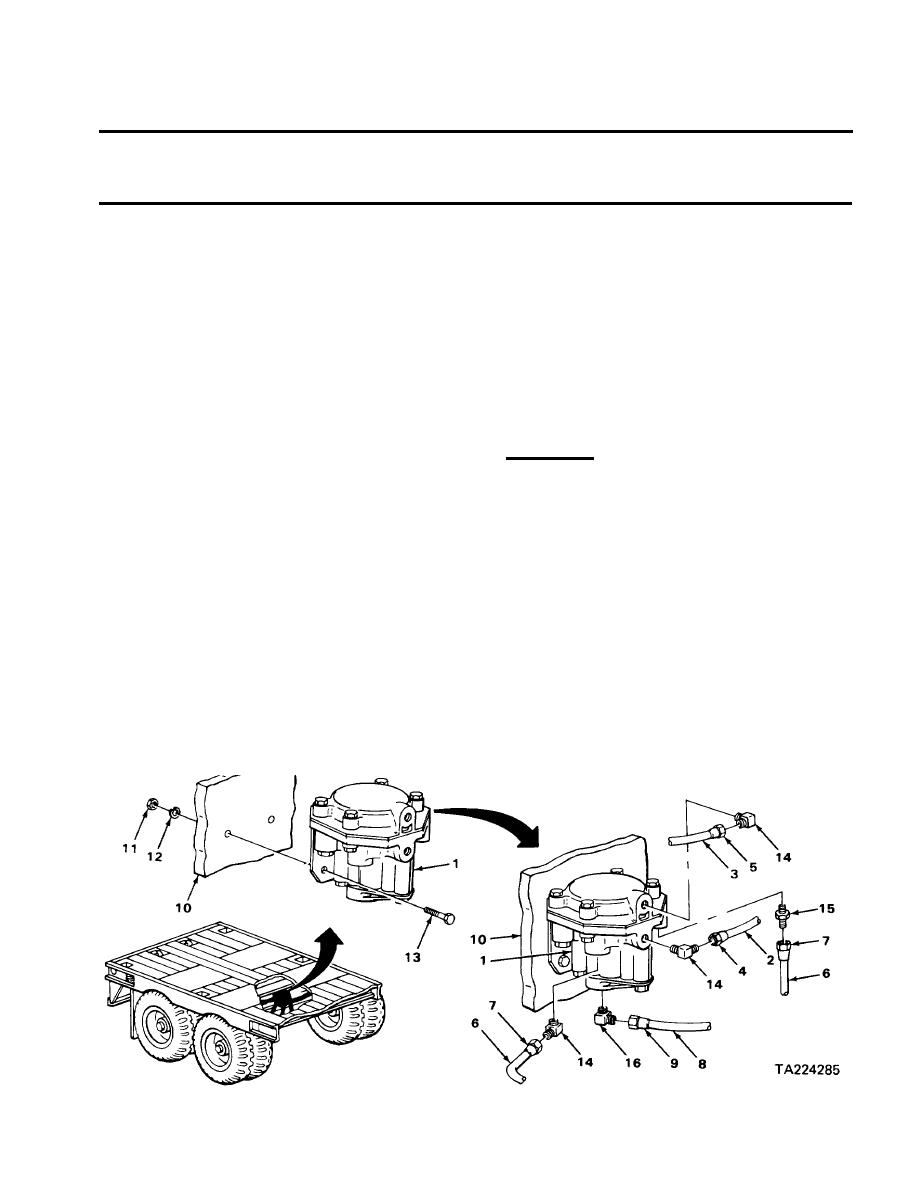
RELAY VALVE - CONTINUED
ACTION
LOCATION
ITEM
REMARKS
REMOVAL CONTINUED
Relay valve (1)
Three elbows (14)
5.
Using 5/8-inch wrench, unscrew and take
out.
6.
Nipple (15)
Using 9/16-inch wrench, unscrew and take
out.
7.
Elbow (16)
Using adjustable wrench, unscrew and take
out.
INSTALLATION
CAUTION
Always screw in and hand tighten all air line fittings,
adapters, and connectors before putting a wrench on
them. Failure to do so could cause cross-threading
damage to material.
NOTE
Before installing air fittings and adapters, wrap all
male threads two turns counterclockwise with teflon
tape.
8.
Elbow (16)
Put in and tighten using adjustable
wrench.
9.
Three elbows (14)
Put in and tighten using 5/8-inch wrench.
10. R e l a y valve (1)
Nipple (15)
Screw in and tighten using 9/16-inch
wrench.
