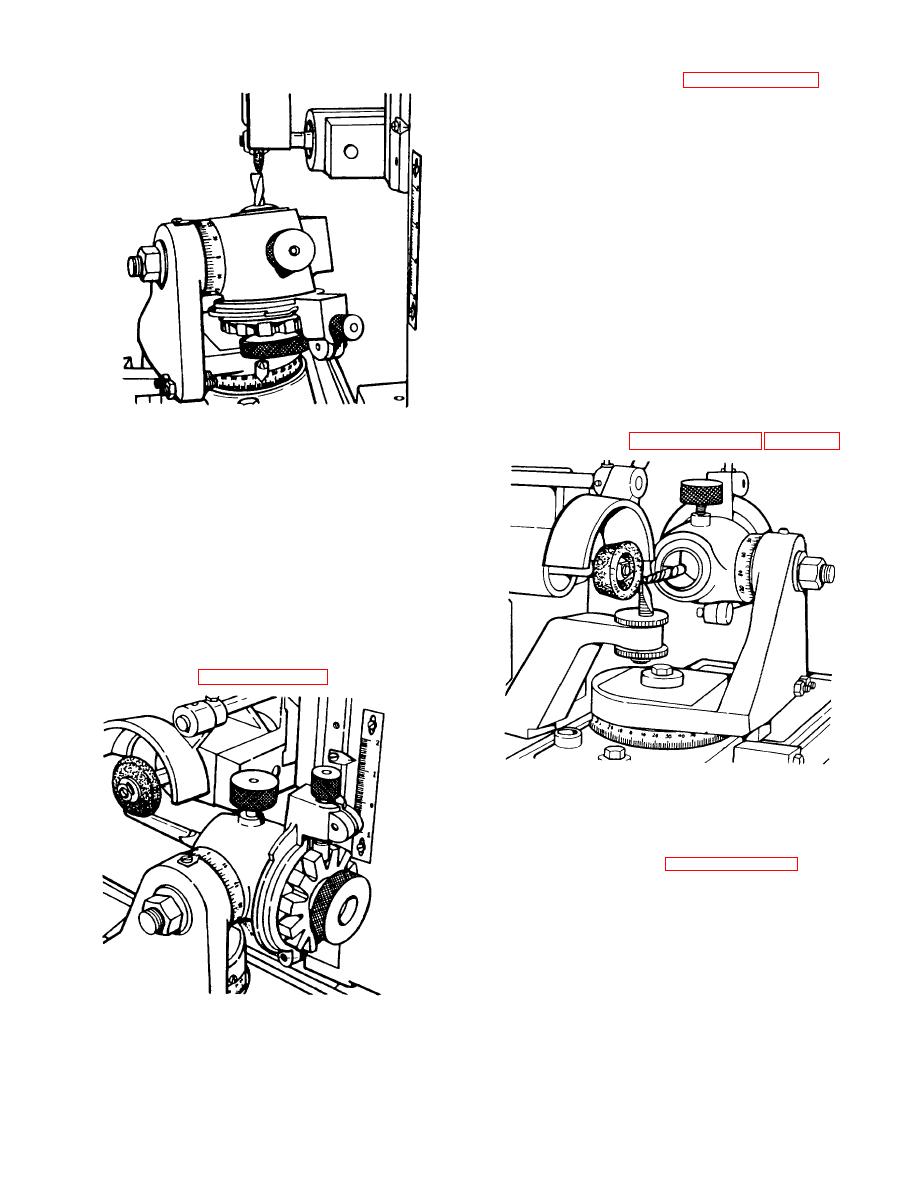
set the table stops. See Illustration No. 27.
6.
Rotate bit in work-head as necessary to get
grinding wheel to fit into flute of the router bit.
7.
Turn on grinder motor and use a very light down
feed on the grinding wheel. Be sure to back up
feed handle to take up the slack In the feed screw.
8.
Grind end of router bit using same procedure for
straight router bits.
GRINDING END MILL CUTTERS
Grinding end mills is basically the same as grinding spiral
router bits. The set-ups are the same and you should
refer back to grinding high speed router bits.
1.
The main difference encountered in grinding end
mills is that there are in general 2-4- or 6 flutes.
And there is usually a primary and secondary
ILLUSTRATION NO. 26
clearance angle ground on the cutters outside
GRINDING A SPUR BIT
diameter. See illustrations No. 19 and No. 28.
GRINDING FLUTED ROUTER BITS
1.
Mount work-head near center of grinder table.
2.
Swing work-head to right against stop pin and
lock.
3.
Select collet and mount fluted router bit into work-
head.
4.
Select a straight grinding wheel of proper
thickness and dress the wheel to fit flute of the
fluted bit. See Illustration No. 12.
ILLUSTRATION NO. 28
GRINDING A SPIRAL END MILL CUTTER
2.
A second difference is that the end of the cutter is
usually ground with a primary and secondary
clearance angle. See illustration No. 29.
This can be done by first grinding the primary clearance
and then re-adjust the work-head to a greater angle to
grind the secondary clearance angle, using the index plate
on the work-head to position the cutter.
3.
In general, most wear on an end mill is at the very
end, and when outside of cutter is in good
ILLUSTRATION NO. 27
condition, the end only should be ground.
GRINDING A FLUTED ROUTER BIT
5.
Position the grinding wheel over the router bit and
14


