TM 9-4120-370-14
TO 35E9-229-1
5-17. LOW PRESSURE CUTOUT SWITCH (S6) - Continued.
b.
Removal
(1) Discharge the refrigerant system per paragraph 5-7.
(2) Using screwdriver, remove two flat head screws from pressure switch.
Check to be sure that refrigerant has been discharged.
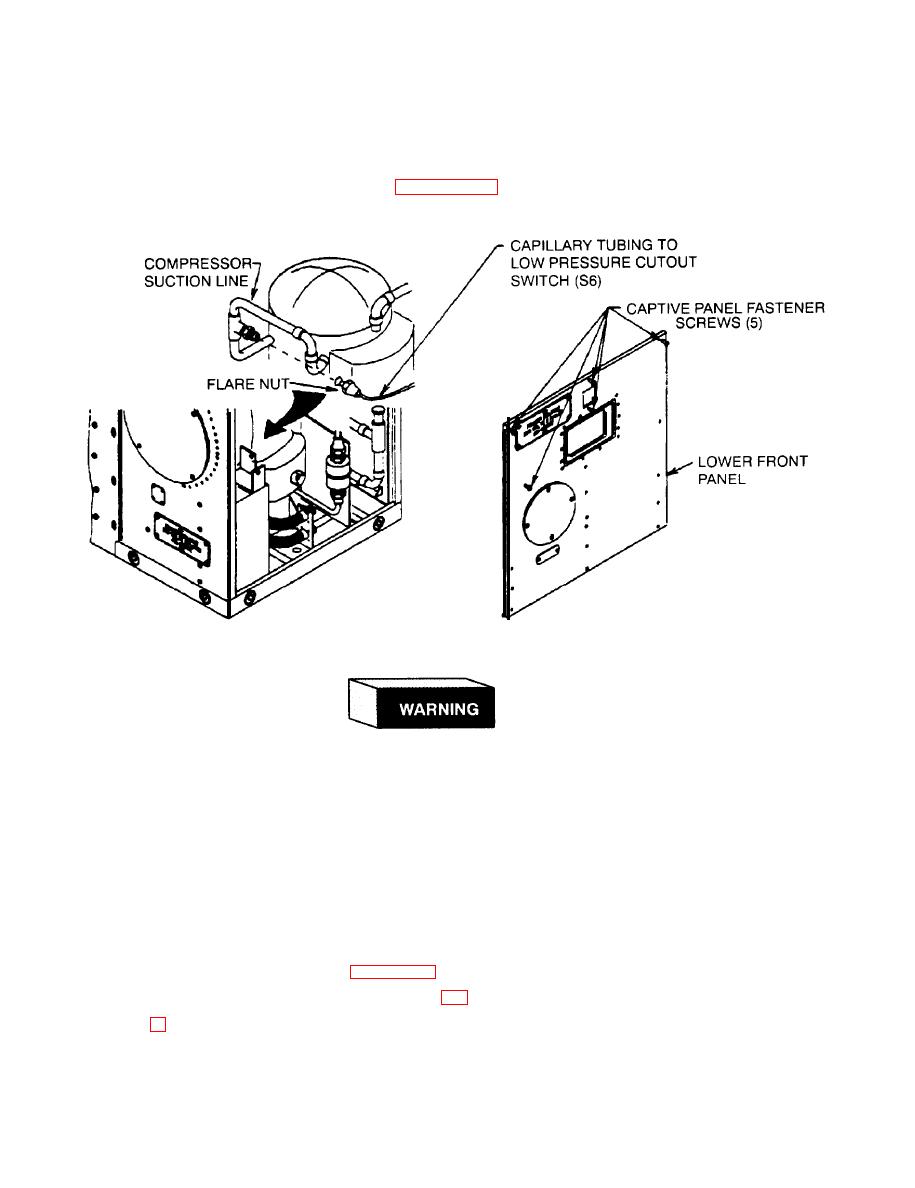
(3) Using wrench, loosen and disconnect pressure switch capillary tubing flare nut from compressor suction
line.
(4) Remove protective clip-on cap.
(5) Tag and disconnect wire leads with pressure switch.
(6) Remove pressure switch, split grommet, and capillary with flare nut from unit.
c.
Installation
(1)
Insert capillary with flare nut through hole in back of safety control box and install split grommet.
(2)
Using screwdriver, secure pressure switch to box with two flat head screws.
See tags and wiring diagram (Figure 4-20) and connect wire leads.
(3)
(4)
Remove tags and install protective clipon cap.
Carefully feed capillary tubing down to flare connection on suction line.
(5)
Using wrench, connect flare nut.
(6)
(7)
Carefully coil excess capillary tubing and tape in place to eliminate vibration.

