
TM 9-4120-388-14
4-7. REMOTE MOUNTING OF CONTROL PANEL-Continued.
Take care that sensing bulb capillary line is not kinked and that bulb and capillary
are not cut or damaged during removal.
m.
Carefully slip remote sensing bulb down through bulkhead hole and remove control panel from unit.
n.
Reinstall clamp, flat washer, lockwasher, and screw for possible future use.
Reinstall grommet.
o.
Seal hole in grommet air tight with silicone adhesive sealant (item 12, Appendix E.)
p.
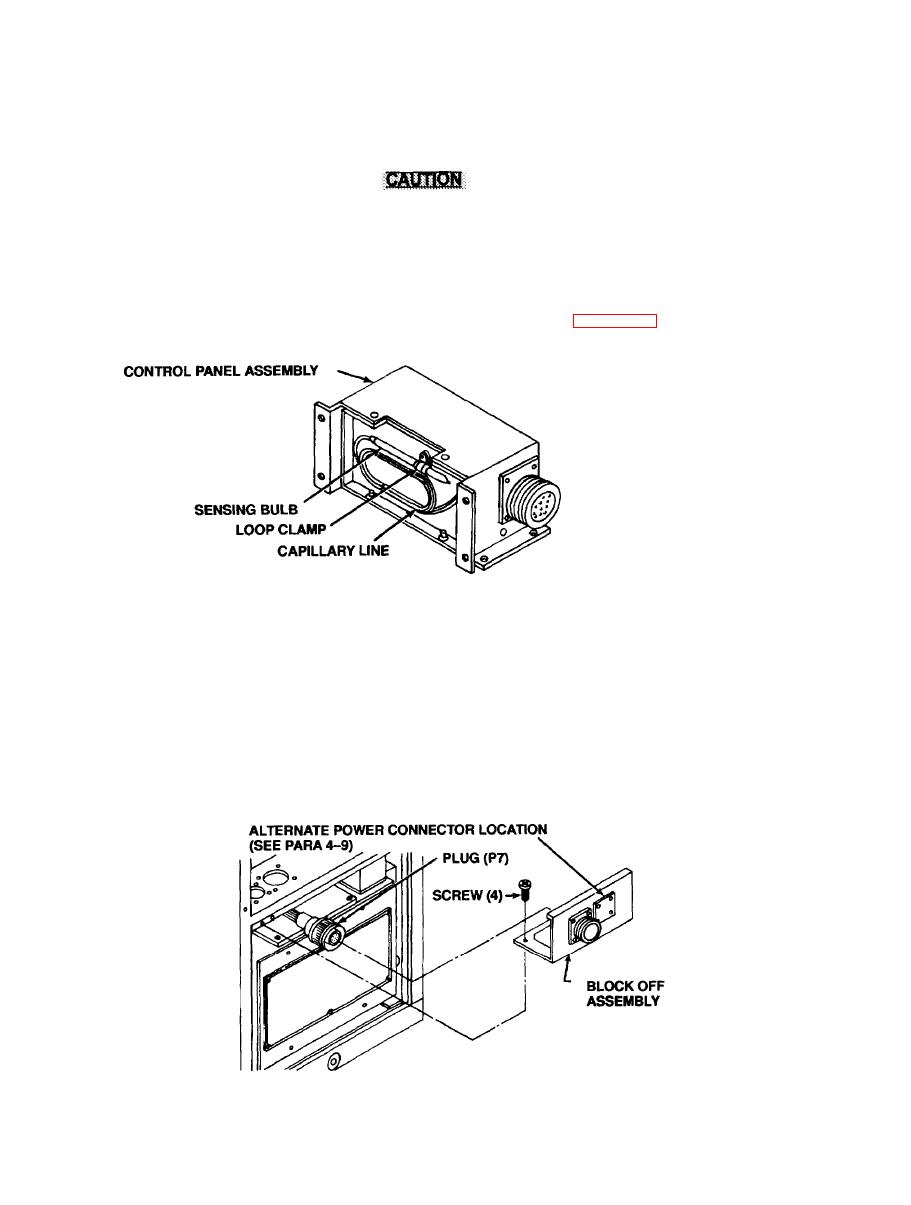
Very carefully, coil capillary line and mount sensing bulb in loop clamp provided on back of control panel.
q.
The control panel is provided with two sets of four holes. These holes are sized for use with 0.25 inch (6.4 mm)
r.
diameter hardware. The control panel can be mounted using the bottom or rear face holes.
Care should be taken to locate the control panel and sensing bulb where there will be an accurate temperature
s.
indication.
NOTE
Do not locate control panel on thin outside walls or near heat producing equipment or lights.
Secure the control panel using appropriate hardware in the remote location.
t.
Carefully move junction box into position and secure with four captive panel screws.
u.
Install block off assembly using the four mounting screws removed from the control panel.
v.
